The story from Biking MD continues. After multiple lunch-time trips around the BWI path, the old 1971 Schwinn “knock-off” (it was made in Japan and only shows the Schwinn name on parts like the Derailleur, Brakes, and Bearings) was starting to show her age. The chain was whining in all but the perfect alignment of the gears. The resistance in the jockey-wheels was so bad that I couldn’t pedal backwards without slacking the chain. The largest gear on the crank would not easily transfer back down to the lower gear giving me essentially 5 gears to work with instead of 10.
It was time for the winter break project. Before my first day of vacation even started, I had the bike down to the bare frame awaiting a full overhaul. Poor planning on my part resulted in few “before” pictures and zero picture of the bearing rebuilds. Room for improvement for next time.
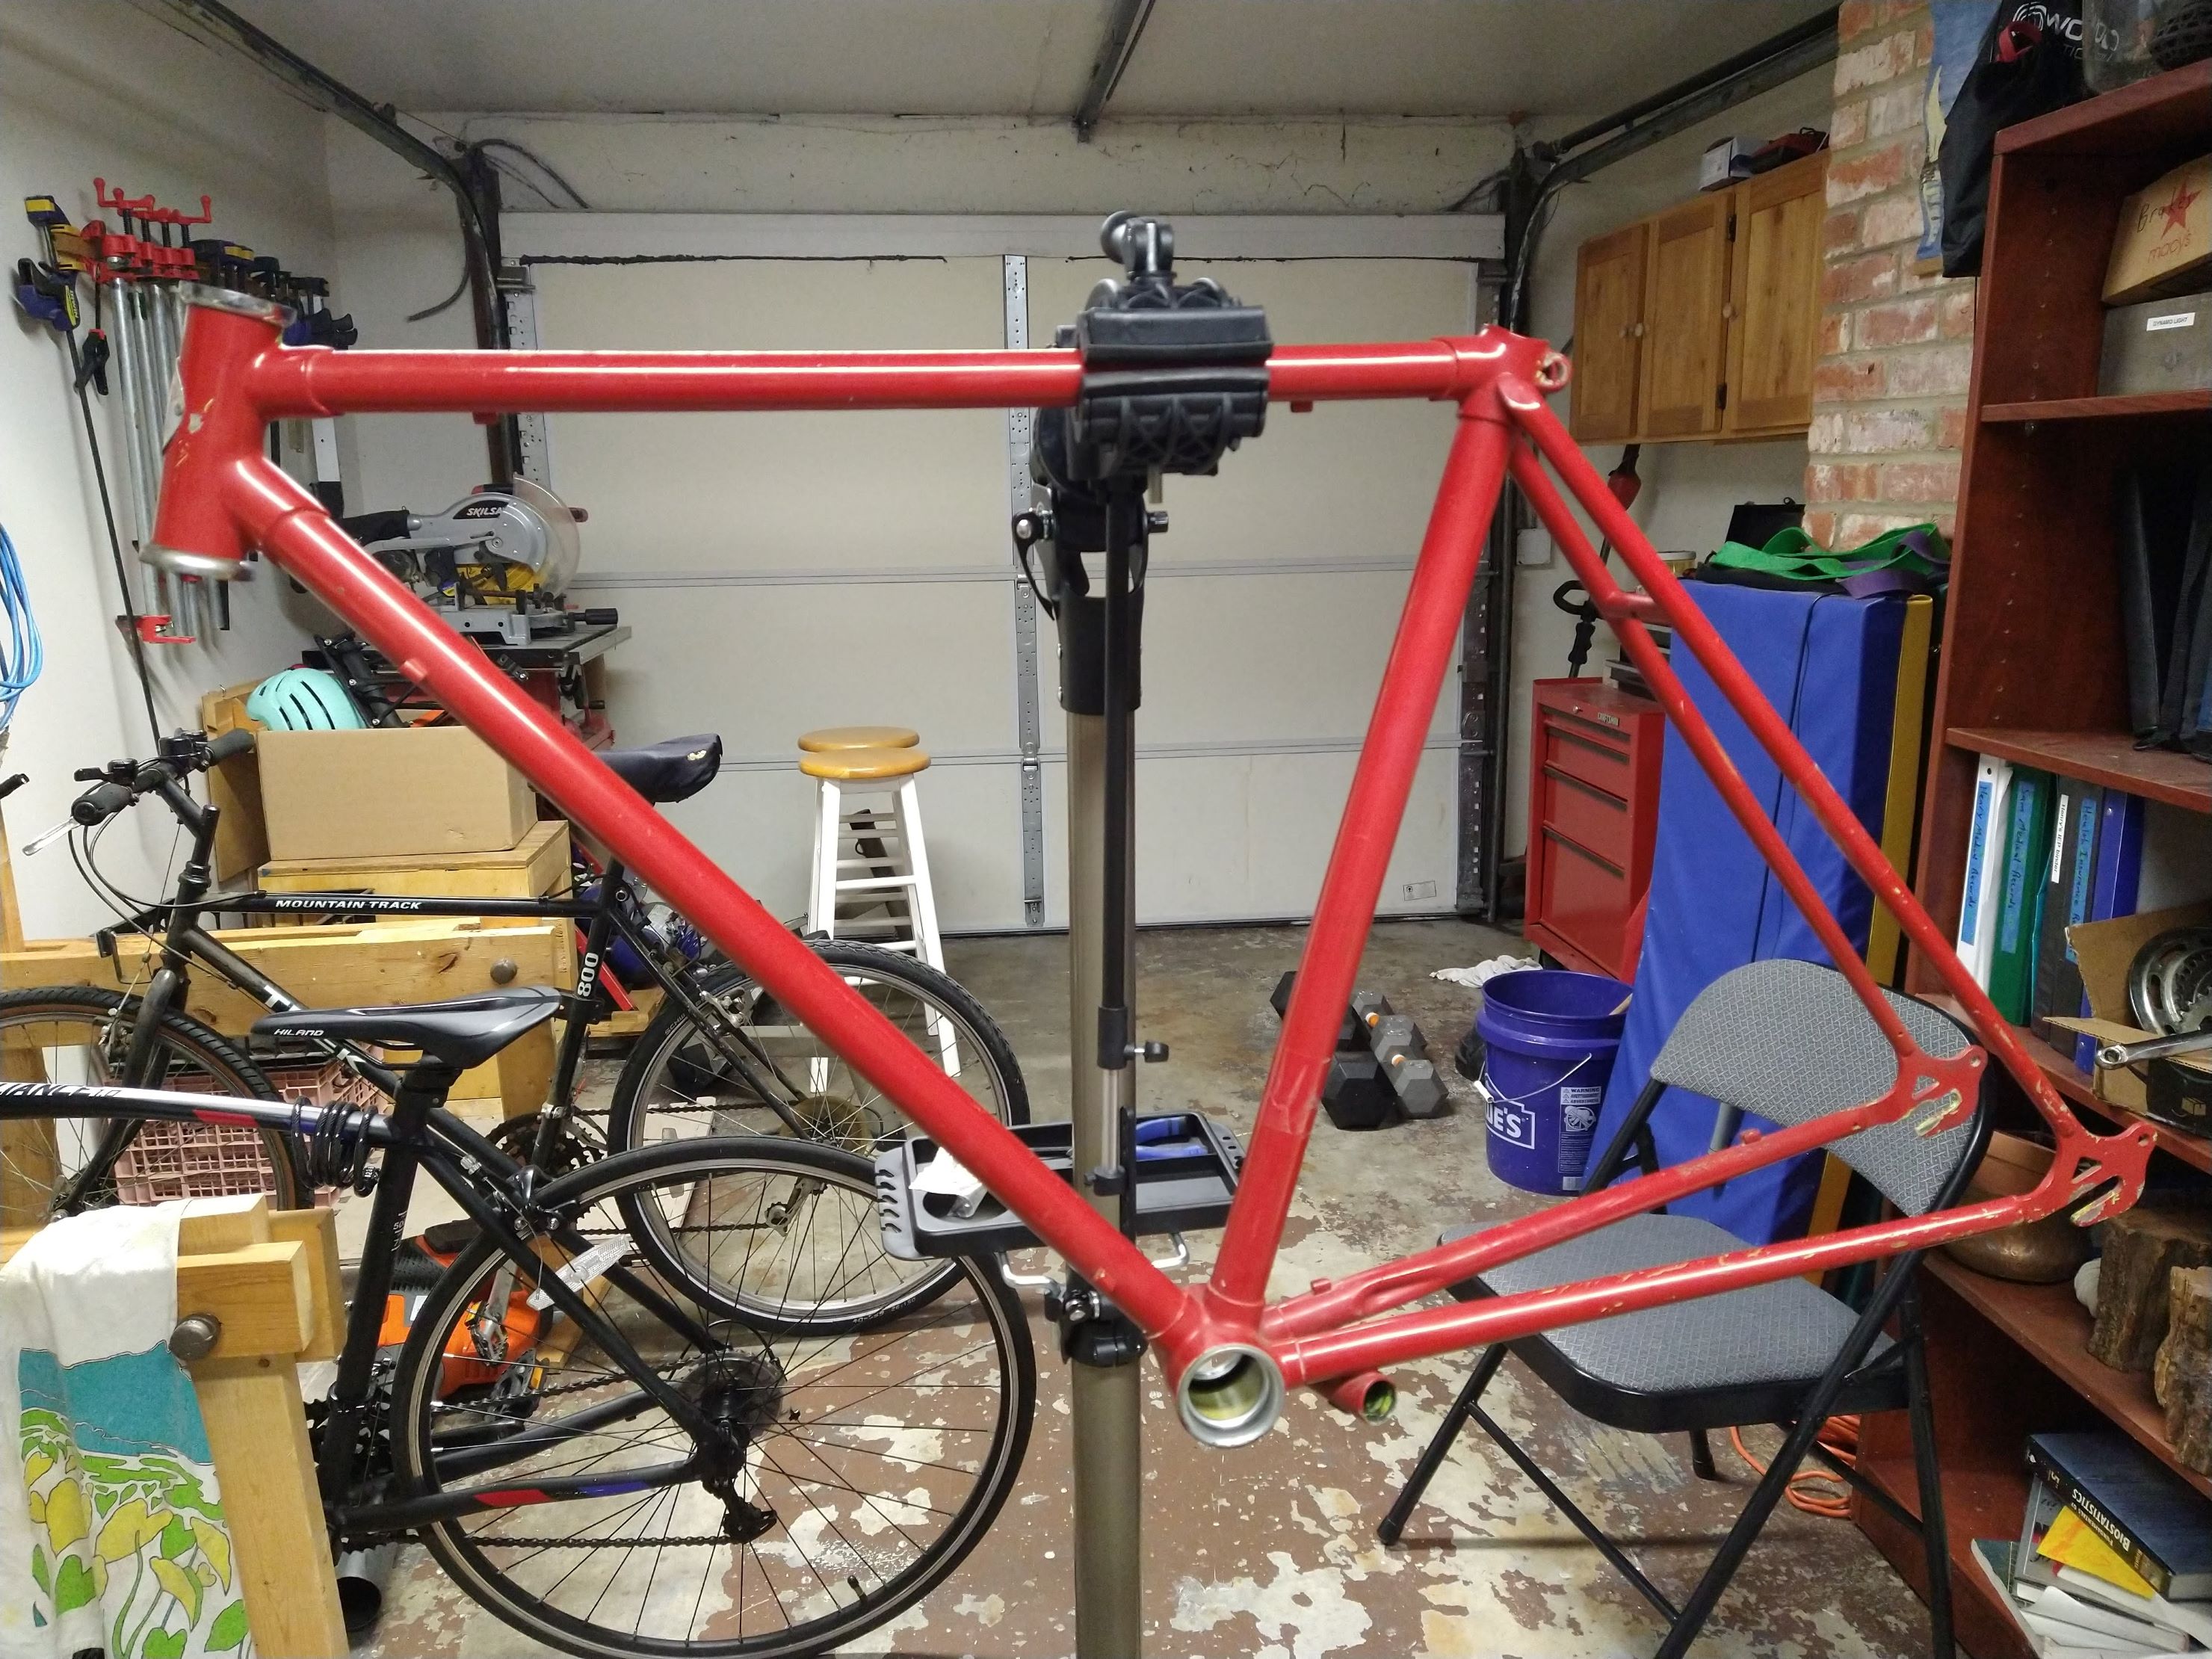 The Bare Frame
Here are a few of the before pictures:
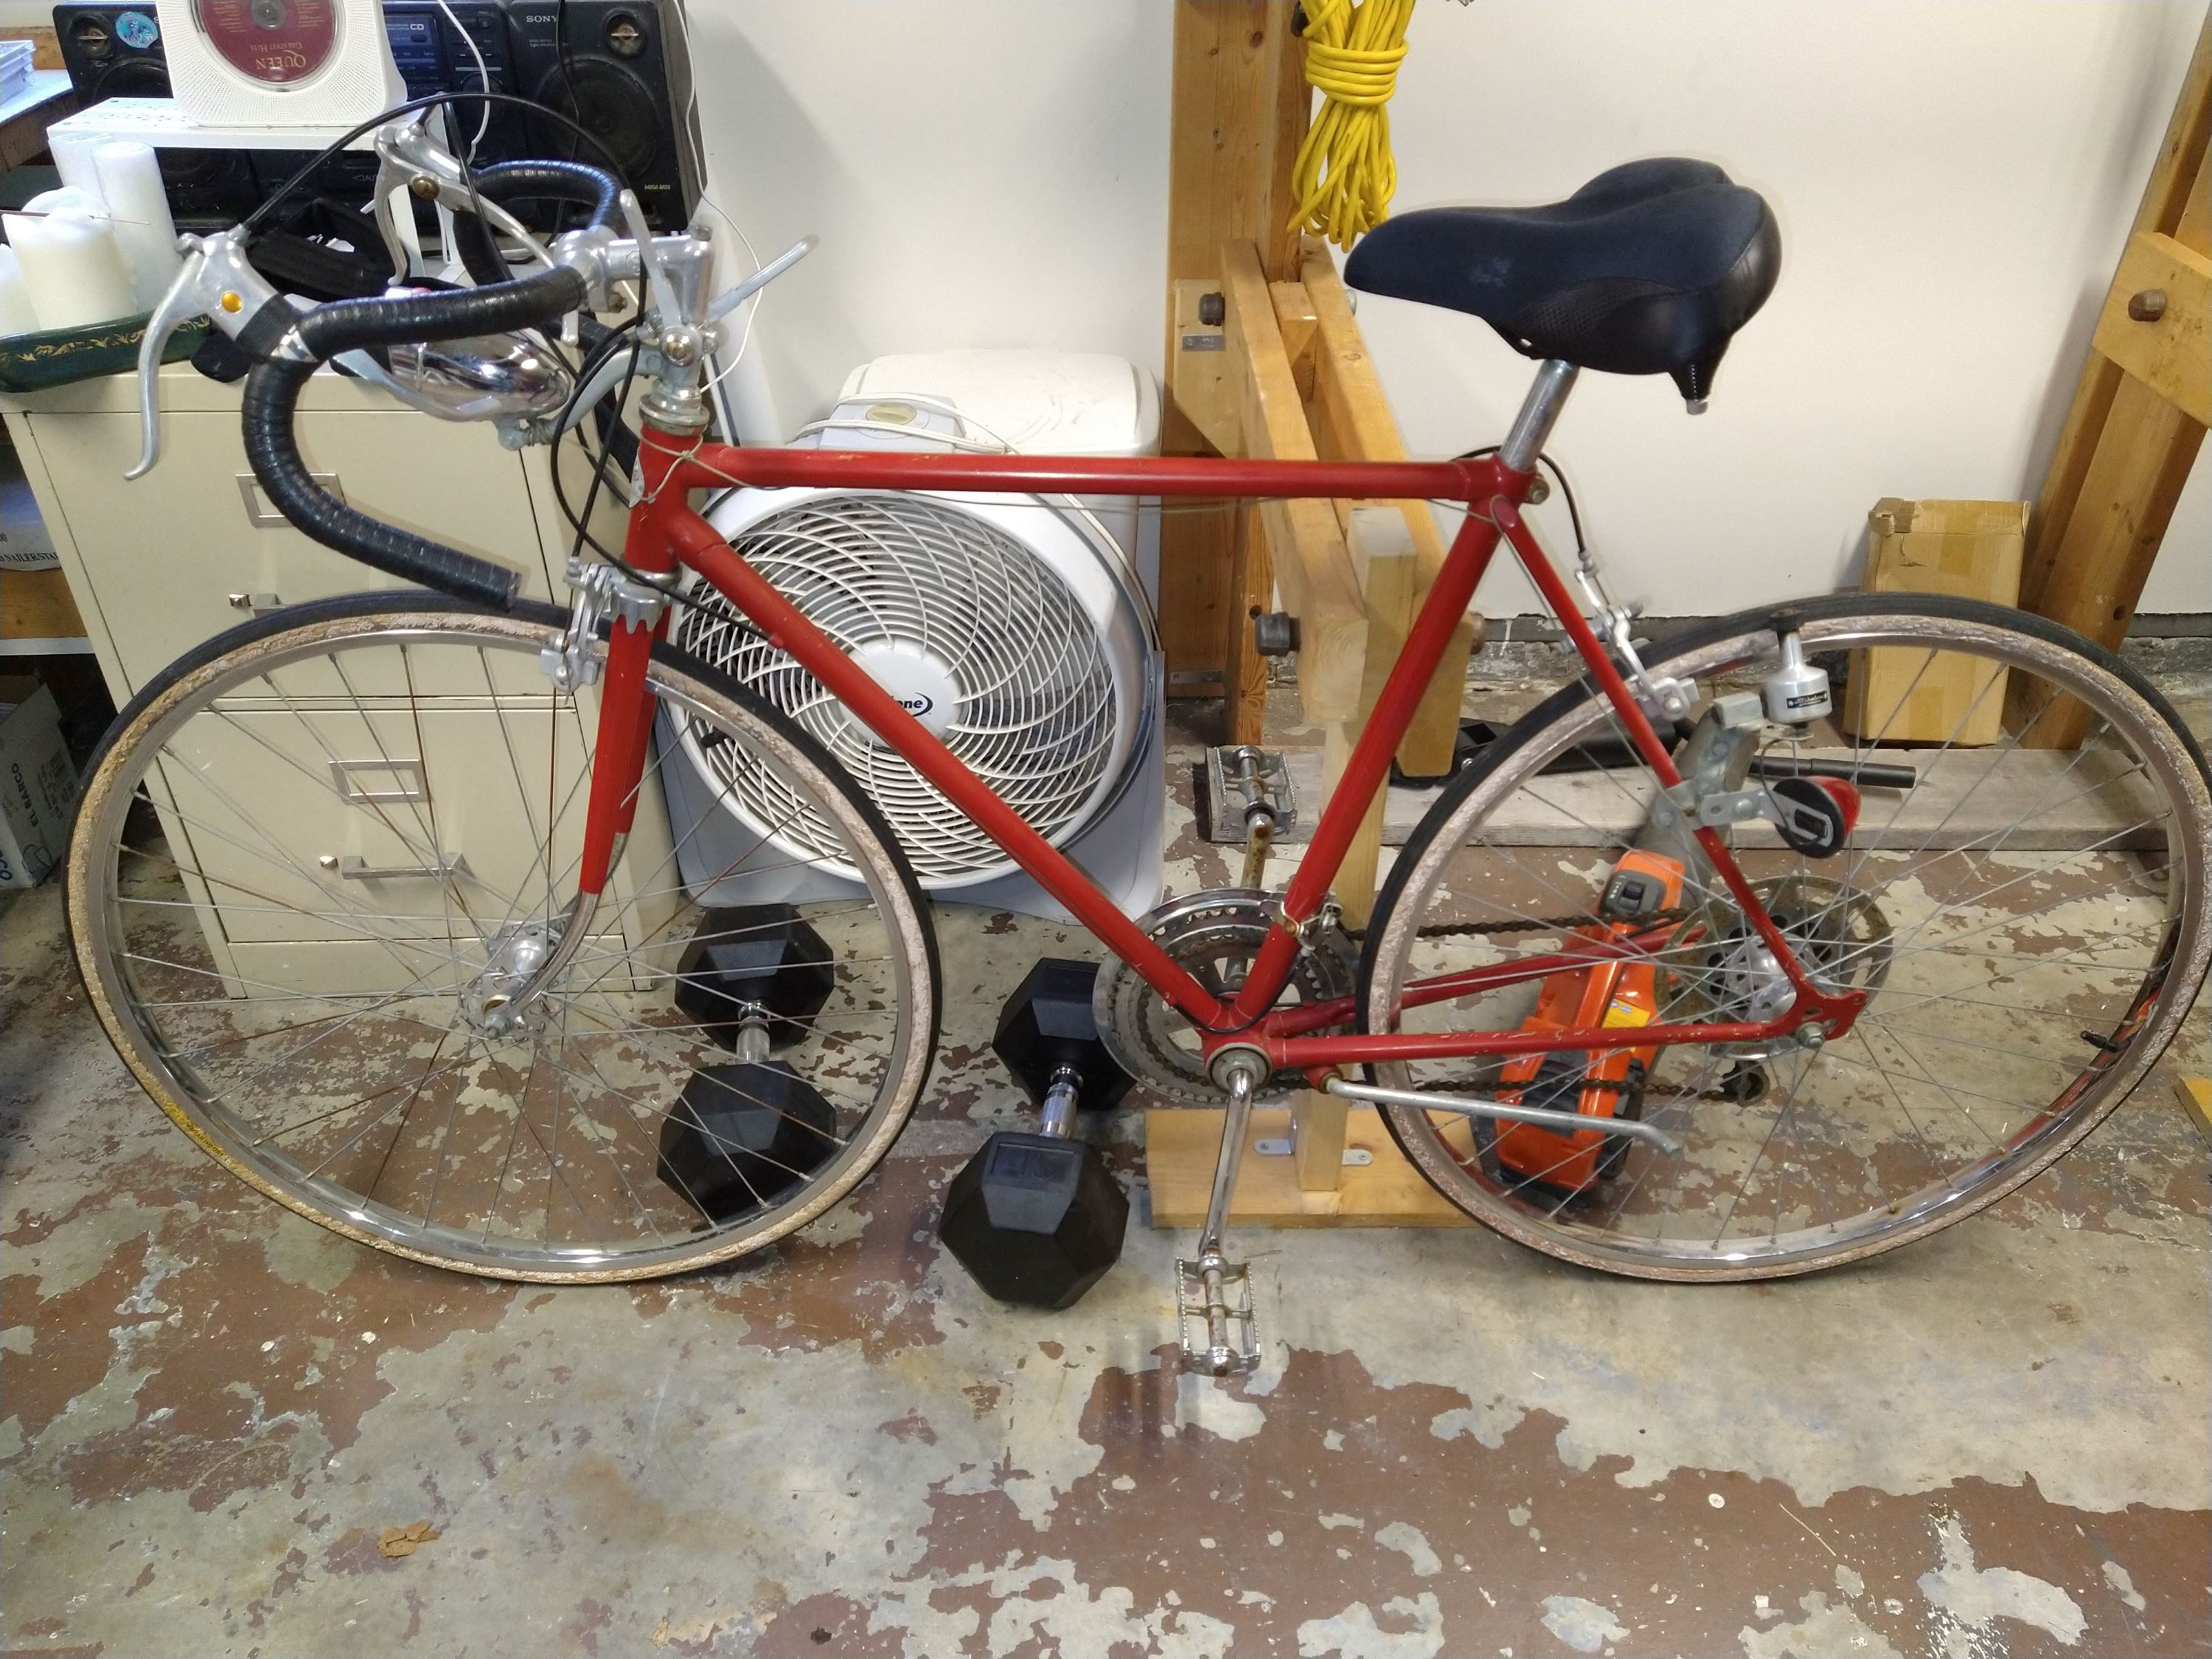
The Full Bike before Overhaul
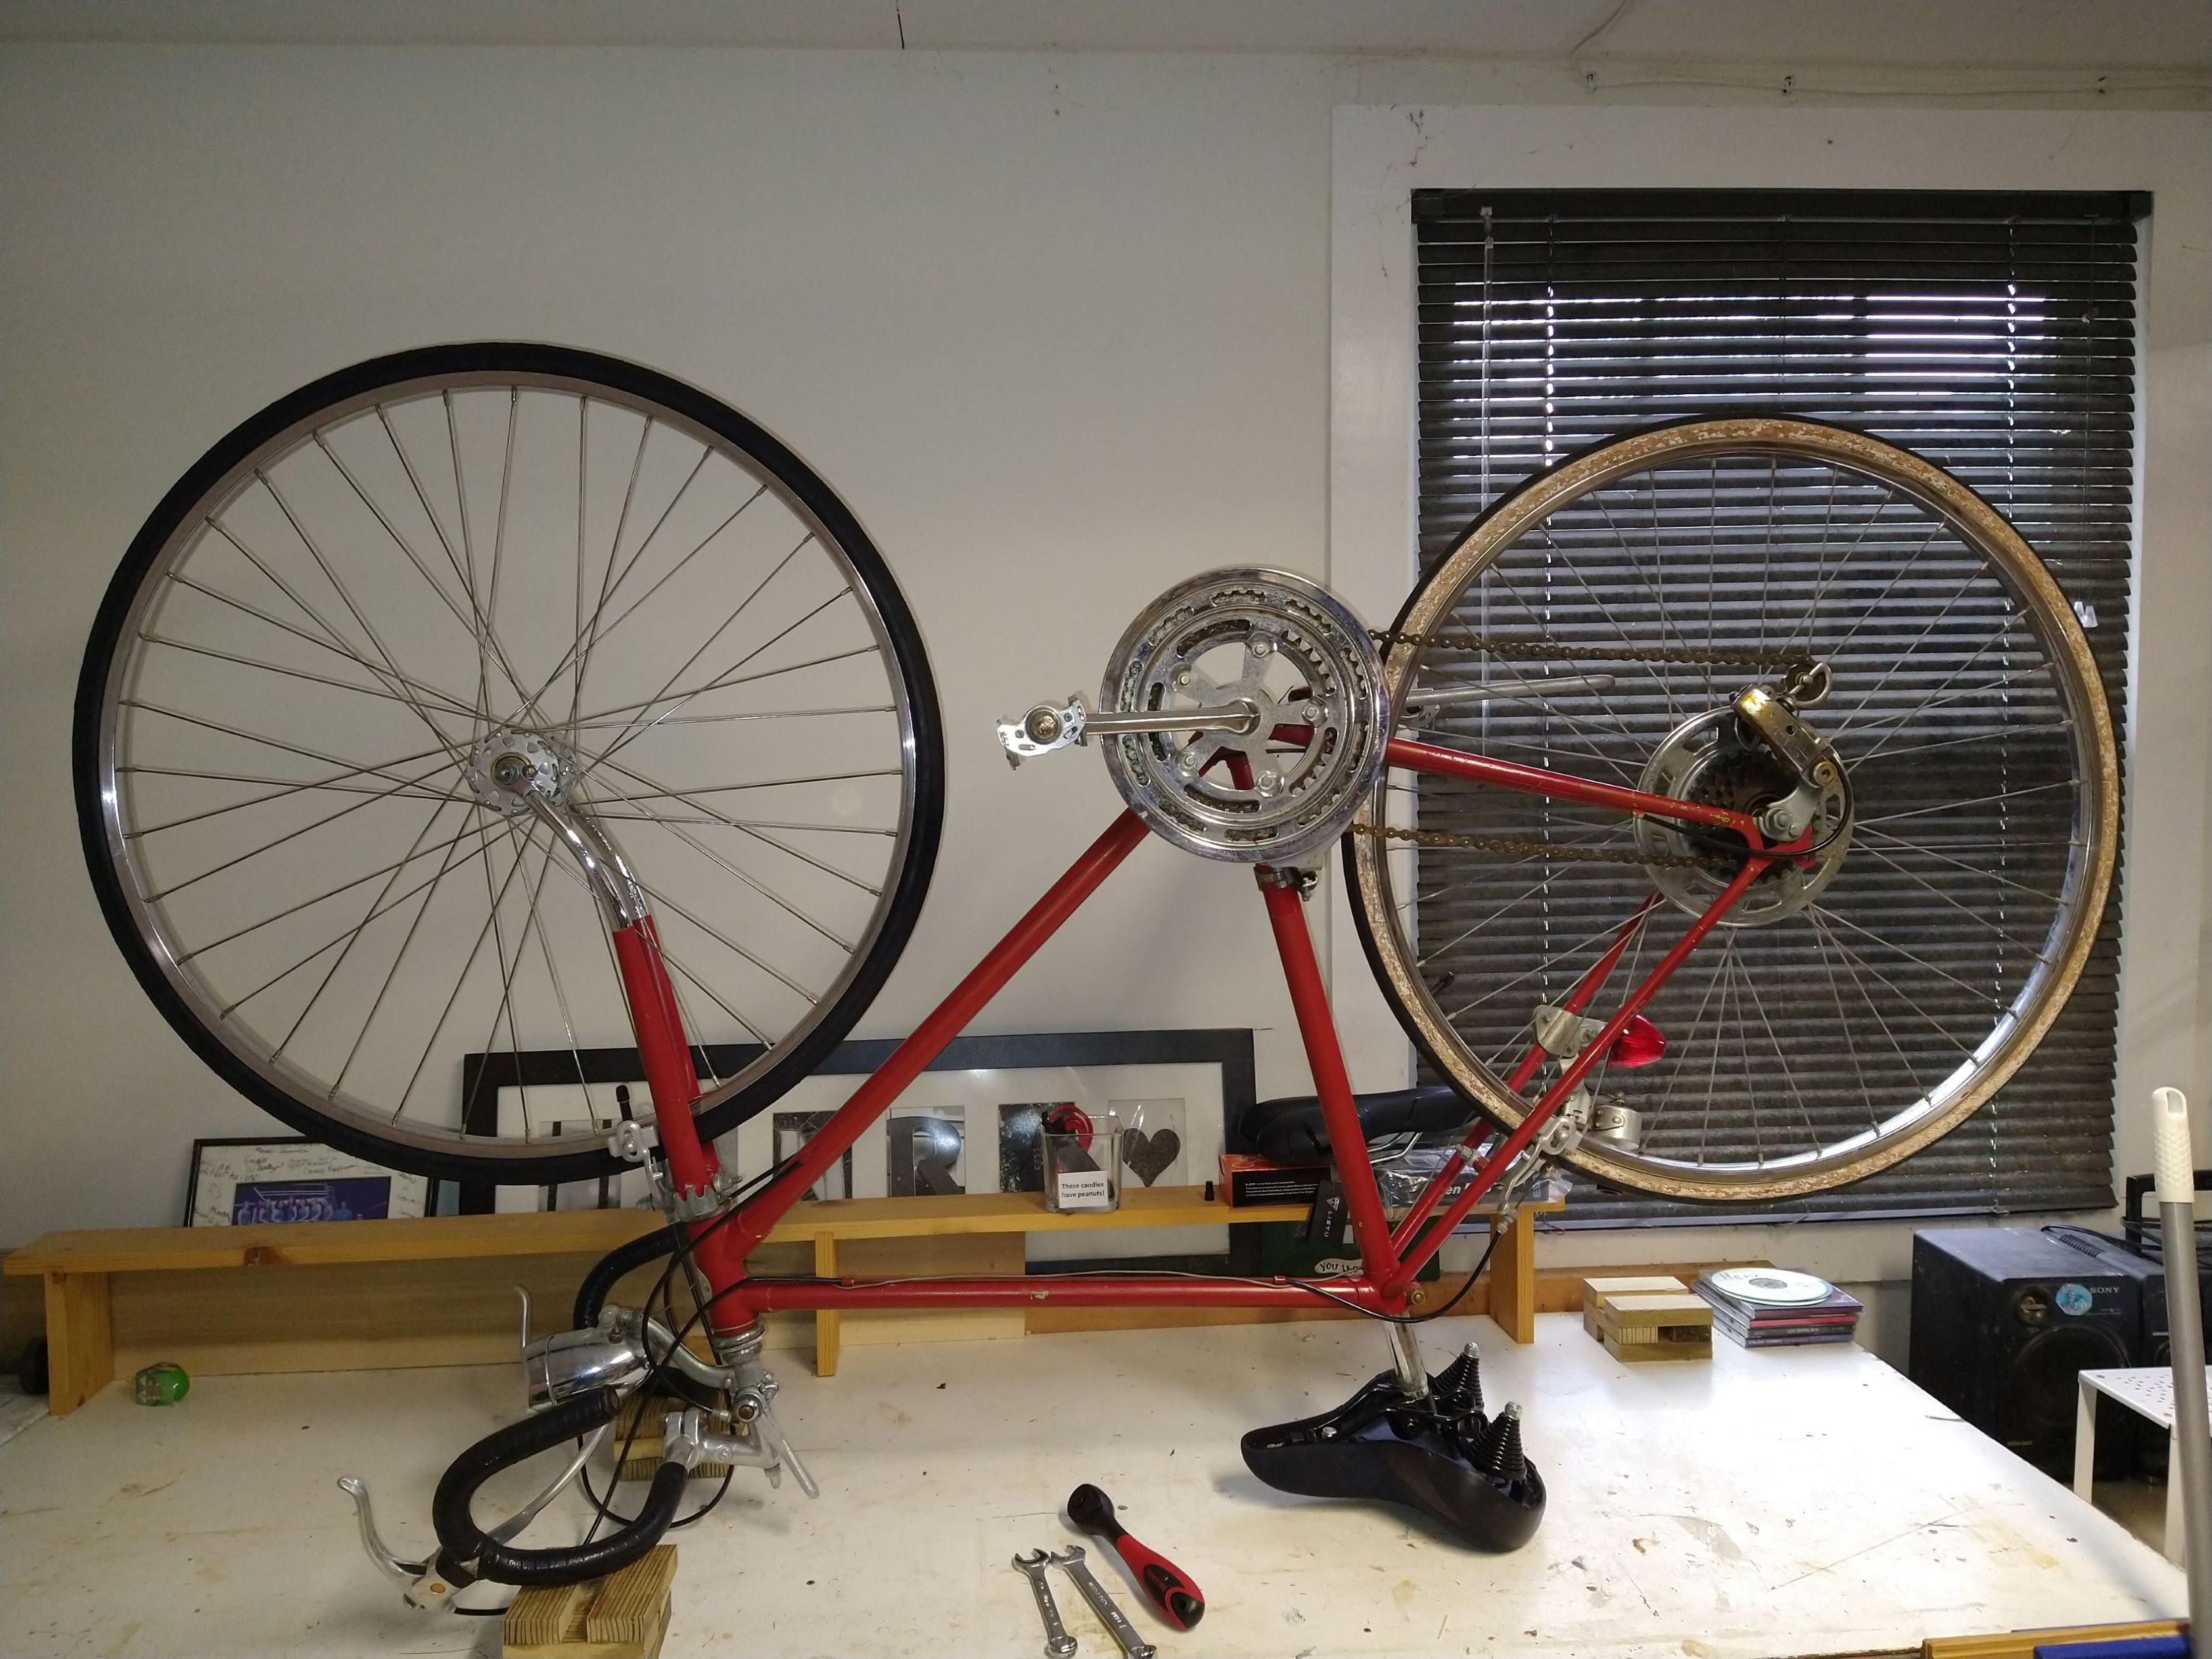
The Full Bike Upside-down before Overhaul
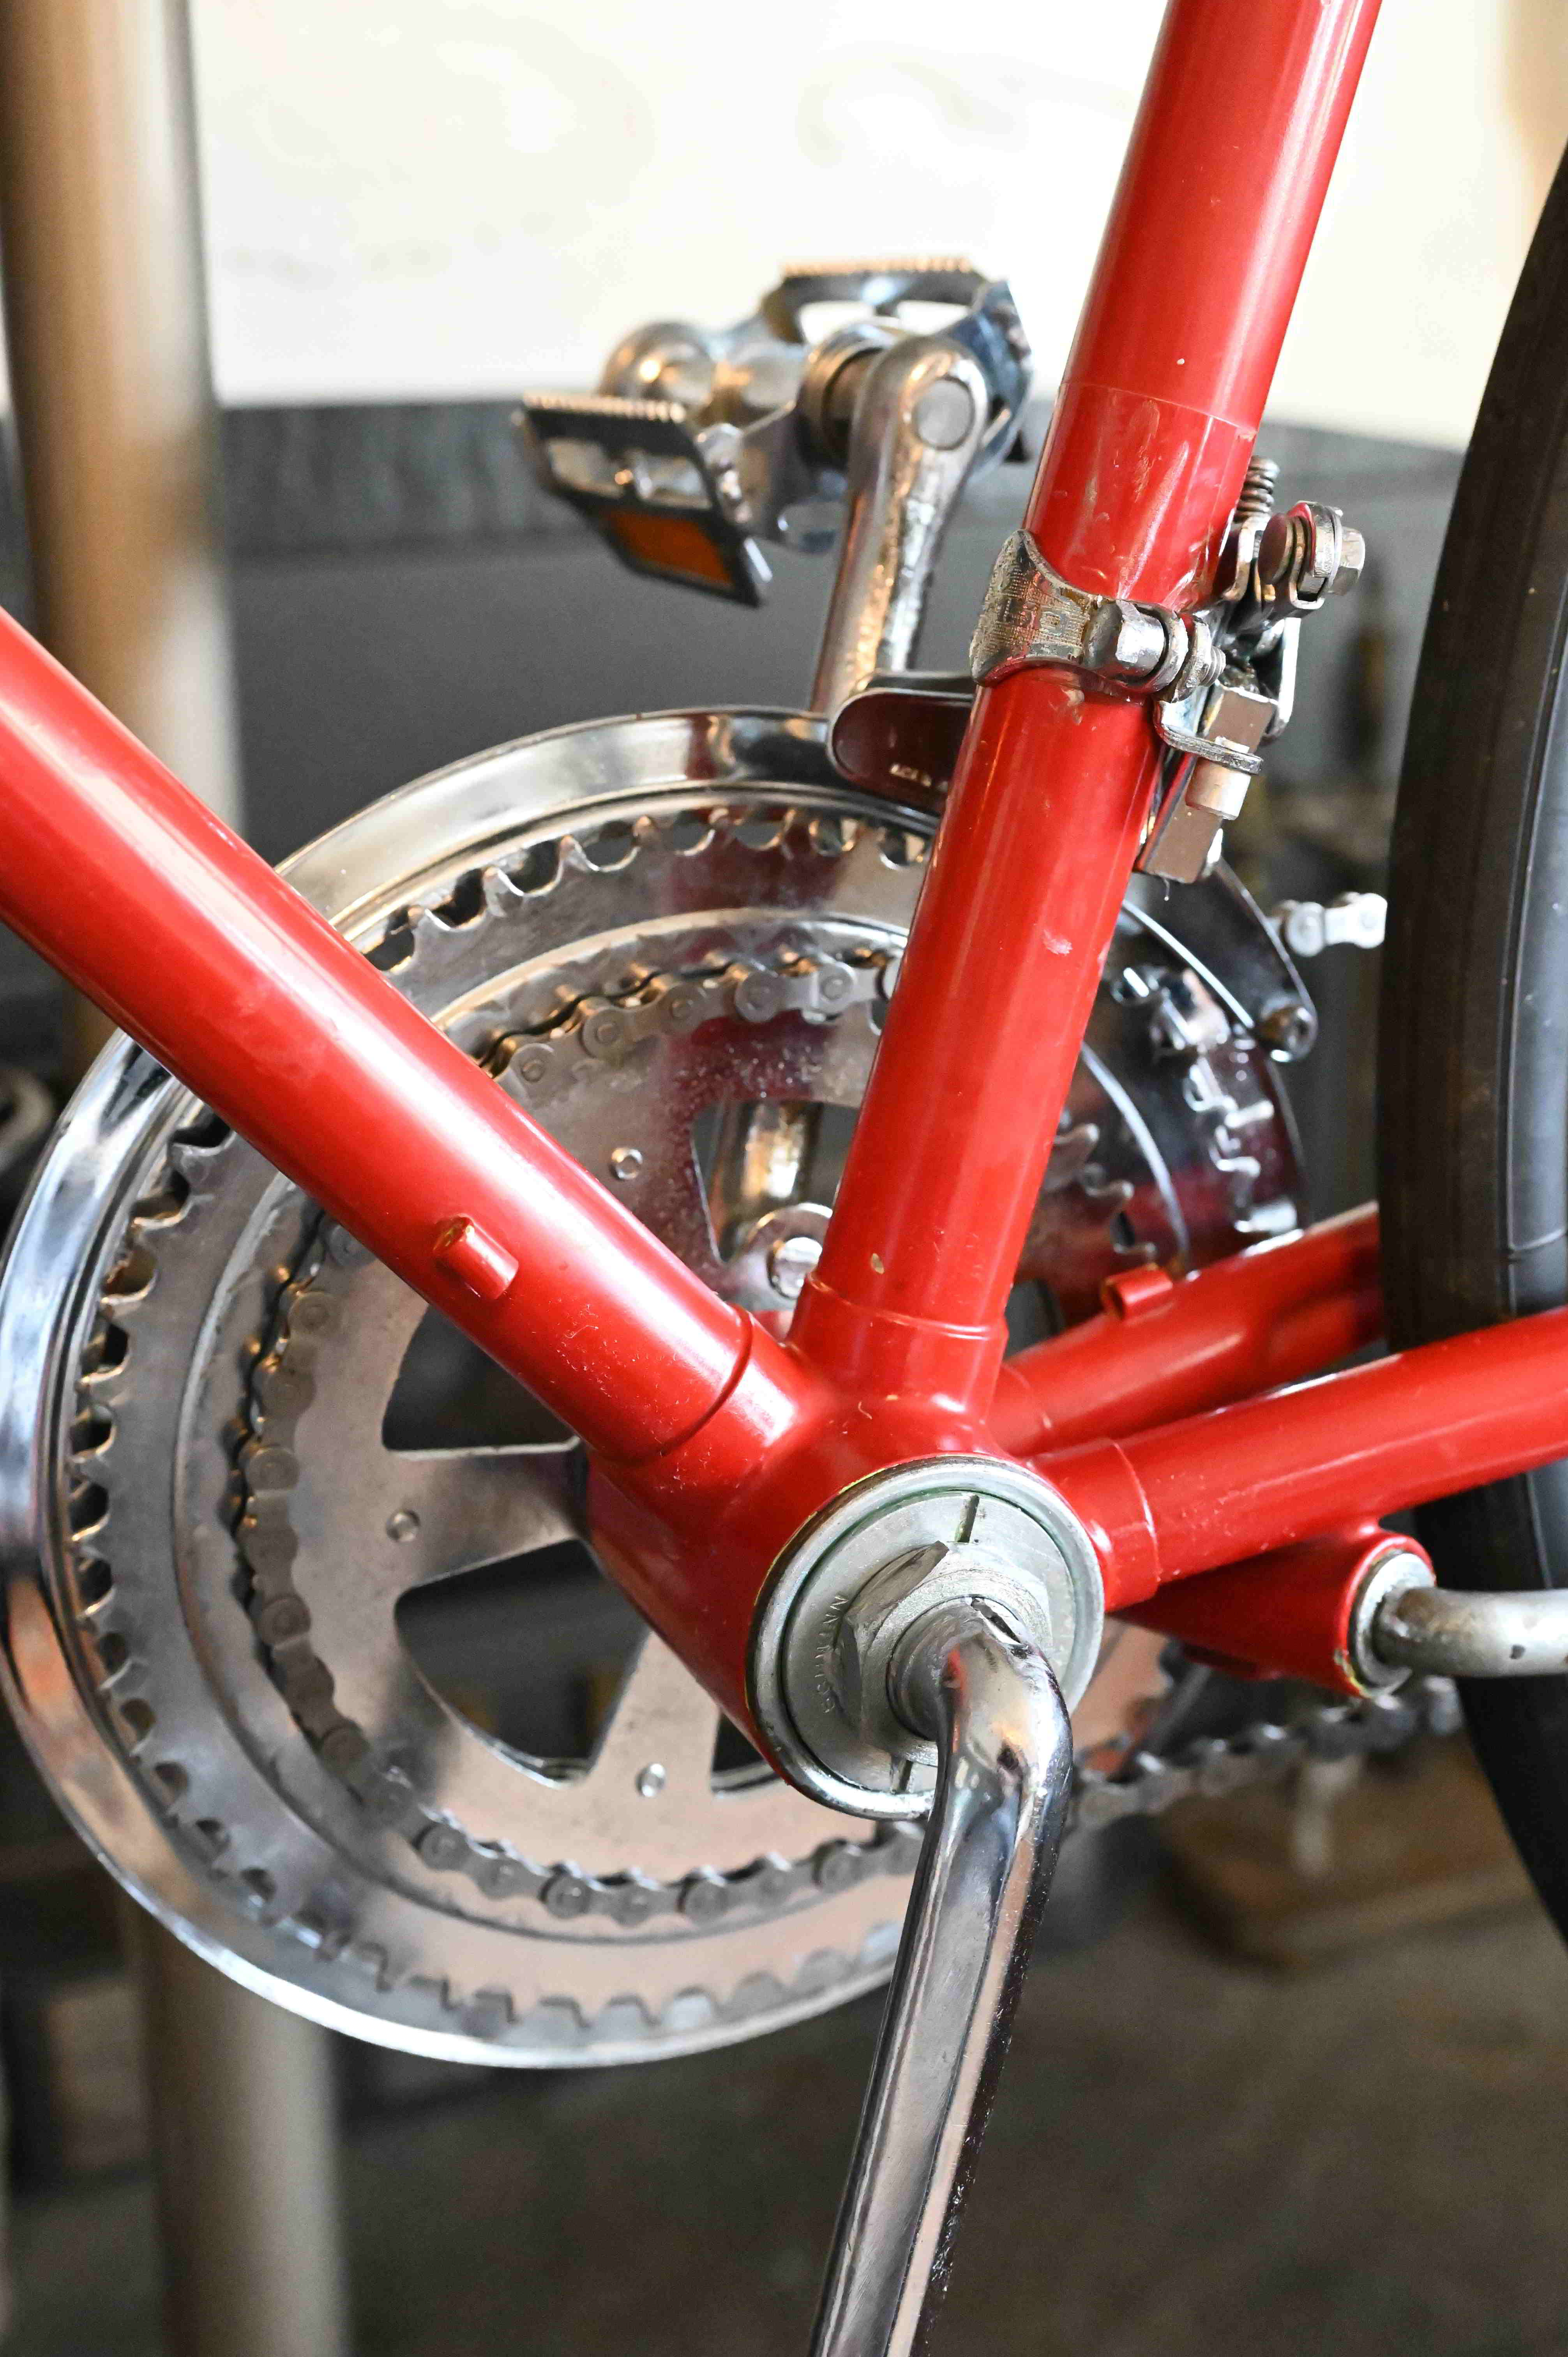
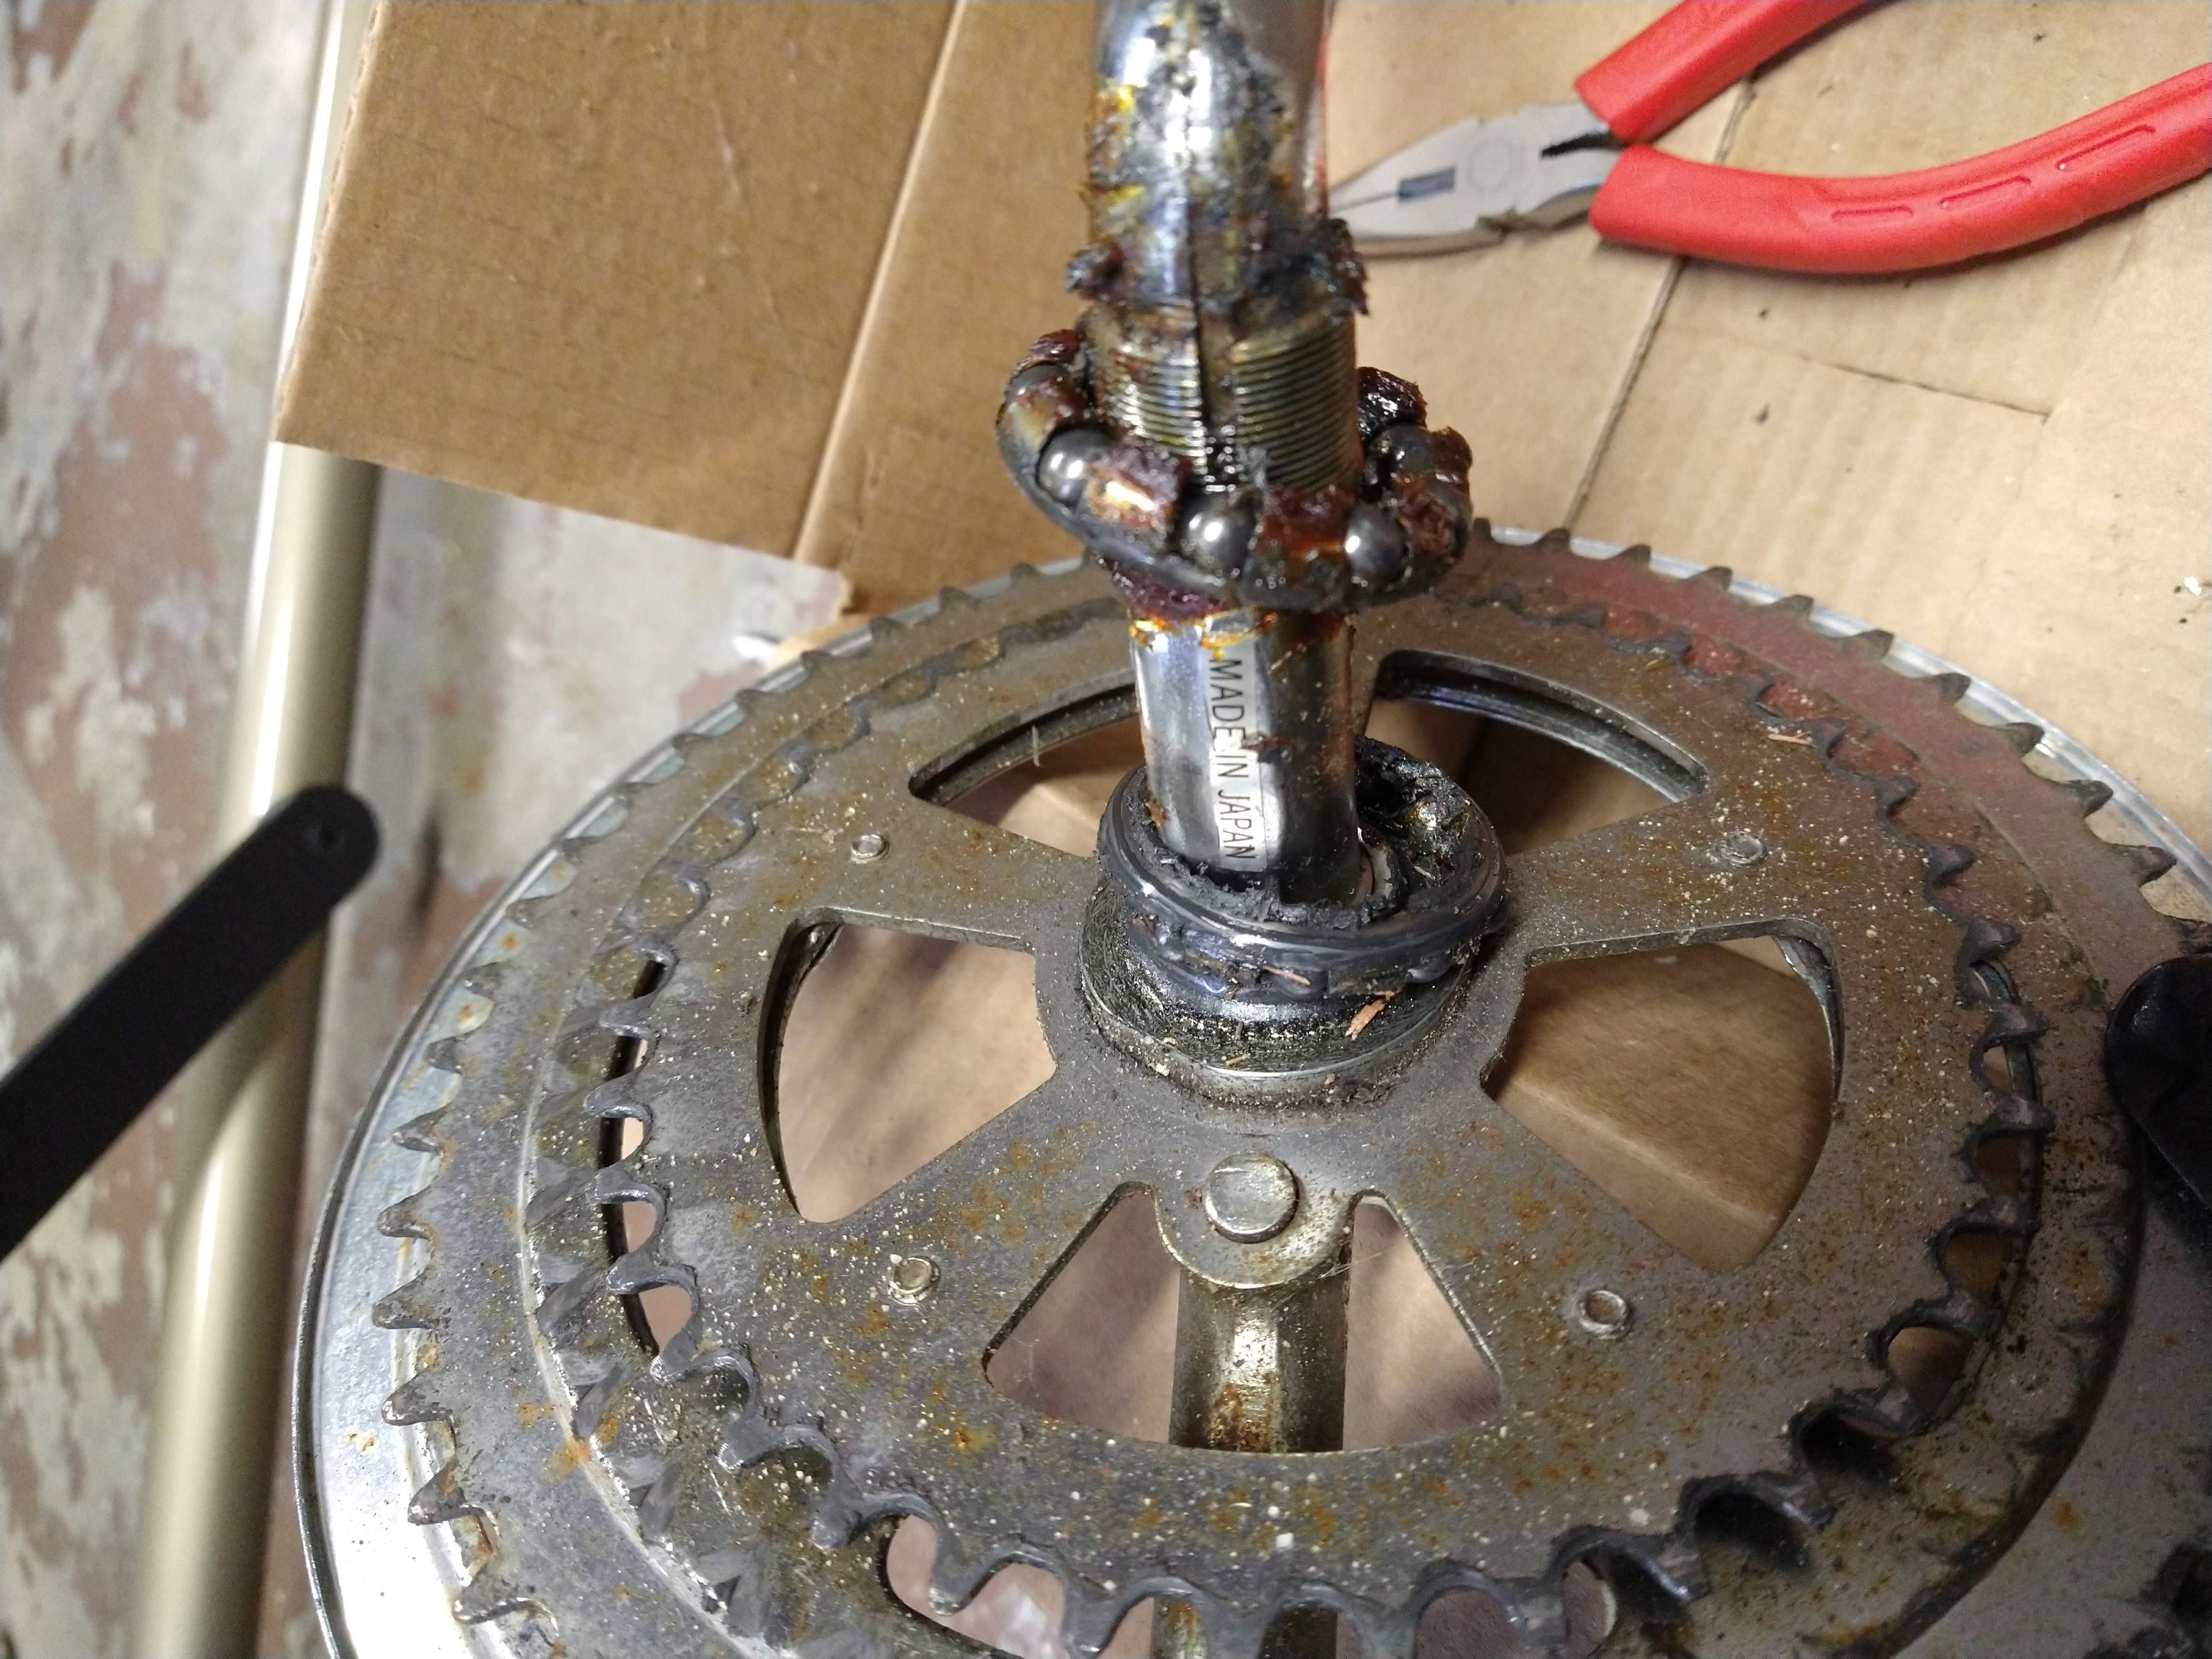 The Crank before Overhaul
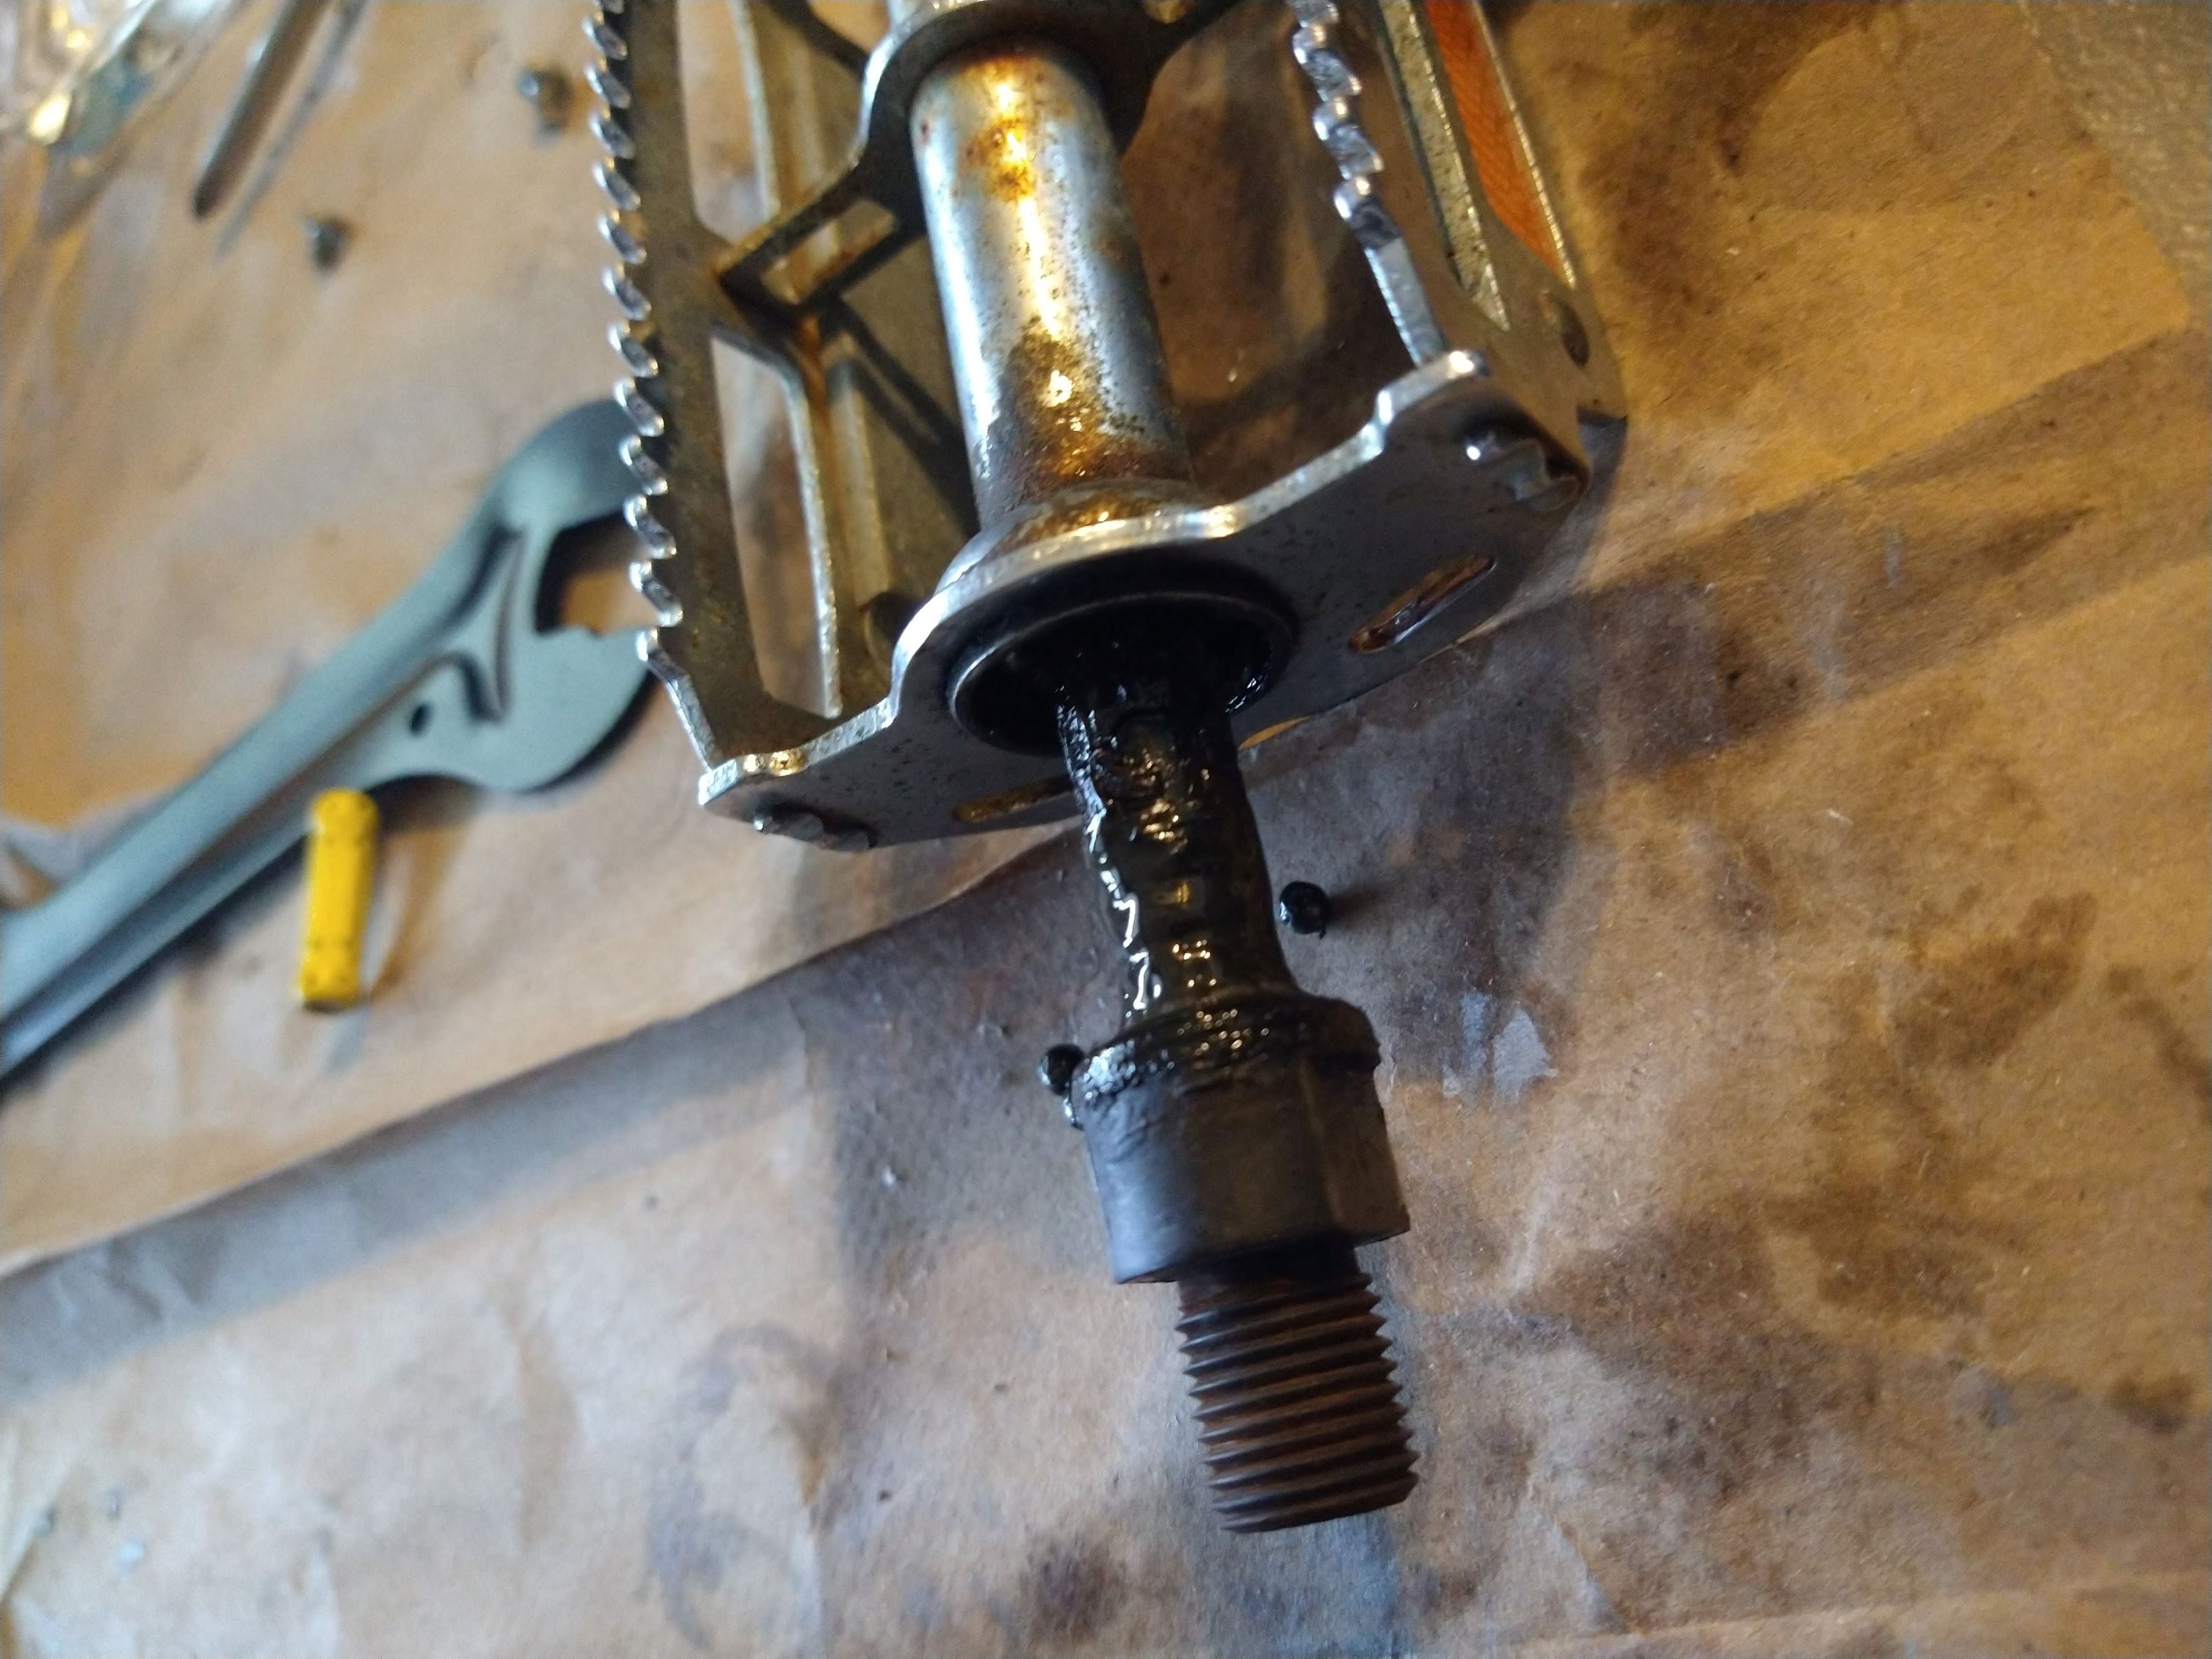 The Pedal and Axle before Overhaul
The first item to go back on the bike was the Bottom Bracket. This took longer than expected since I had to soak the rusted portions of the chrome in Evapo-rust. The 1-piece crank could only submerge so far which ended up taking a couple of days to get the rust off. The grease came out of the cage bearings just fine using the ultrasonic cleaner with carb degreaser. I filled the cages with Shimano Premium grease and re-assembled the bottom bracket. I got the system tight enough to not feel any play, but loose enough not to overload the bearings in the cup and cone.
Next came the front and rear axles. I did the front axle just fine, but I couldn’t get the rear Free Wheel off of the wheel without a specialized spline tool. I waited for the Crofton Family Bike Shop to open after Christmas and they happily loosed my Free Wheel and sold me a tool to use for future disassemblies. After a good cleaning, the rear wheel assembly was back on. A note for future builds: when rebuilding the Free Wheel, try to keep the grease off the ratcheting pawls. When the rear wheel spins freely, the clicking of the pawls is nearly inaudible. I thought I was protecting the parts from corrosion and wear, but now I am afraid that thickening of the grease over time will reduce the ability of the pawls to snap quicking back into their grooves.
The front a rear derailleurs were degreased, rinsed, and then regreased for assembly. I used Boeshield T-9 light oil on all the pivot points and premium grease to coat the steel springs.
Of all the bearings in the bikes, the pedal grease seemed to be the most broken down. The Bottom Bracket and Fork bearings had grease that was at least still present though extremely dry and too viscous. The pedal bearings fell out and black liquid came with it. There was noticable rusting on one of the pedal threads. It is as though water penetrated that area, thinned out the grease, and initiated rusting of the part. The pedals and axles went into the Evapo-Rust and were re-greased with general grease. The bearings were re-set with premium Shimano grease.
Finally, the brake assemblies and shifter assemblies were re-built paying close attention to greasing the moving parts to ensure smooth motion. I never knew the shifters actually clicked going in one direction until I re-built them.
The original brake and transmission line outer housings were all black. I decided to upgrade to white outer housings to match the handlebar grip tap and provide a little more contrast against the worn original rusty red paint color. Here is one of the few before and after shots:
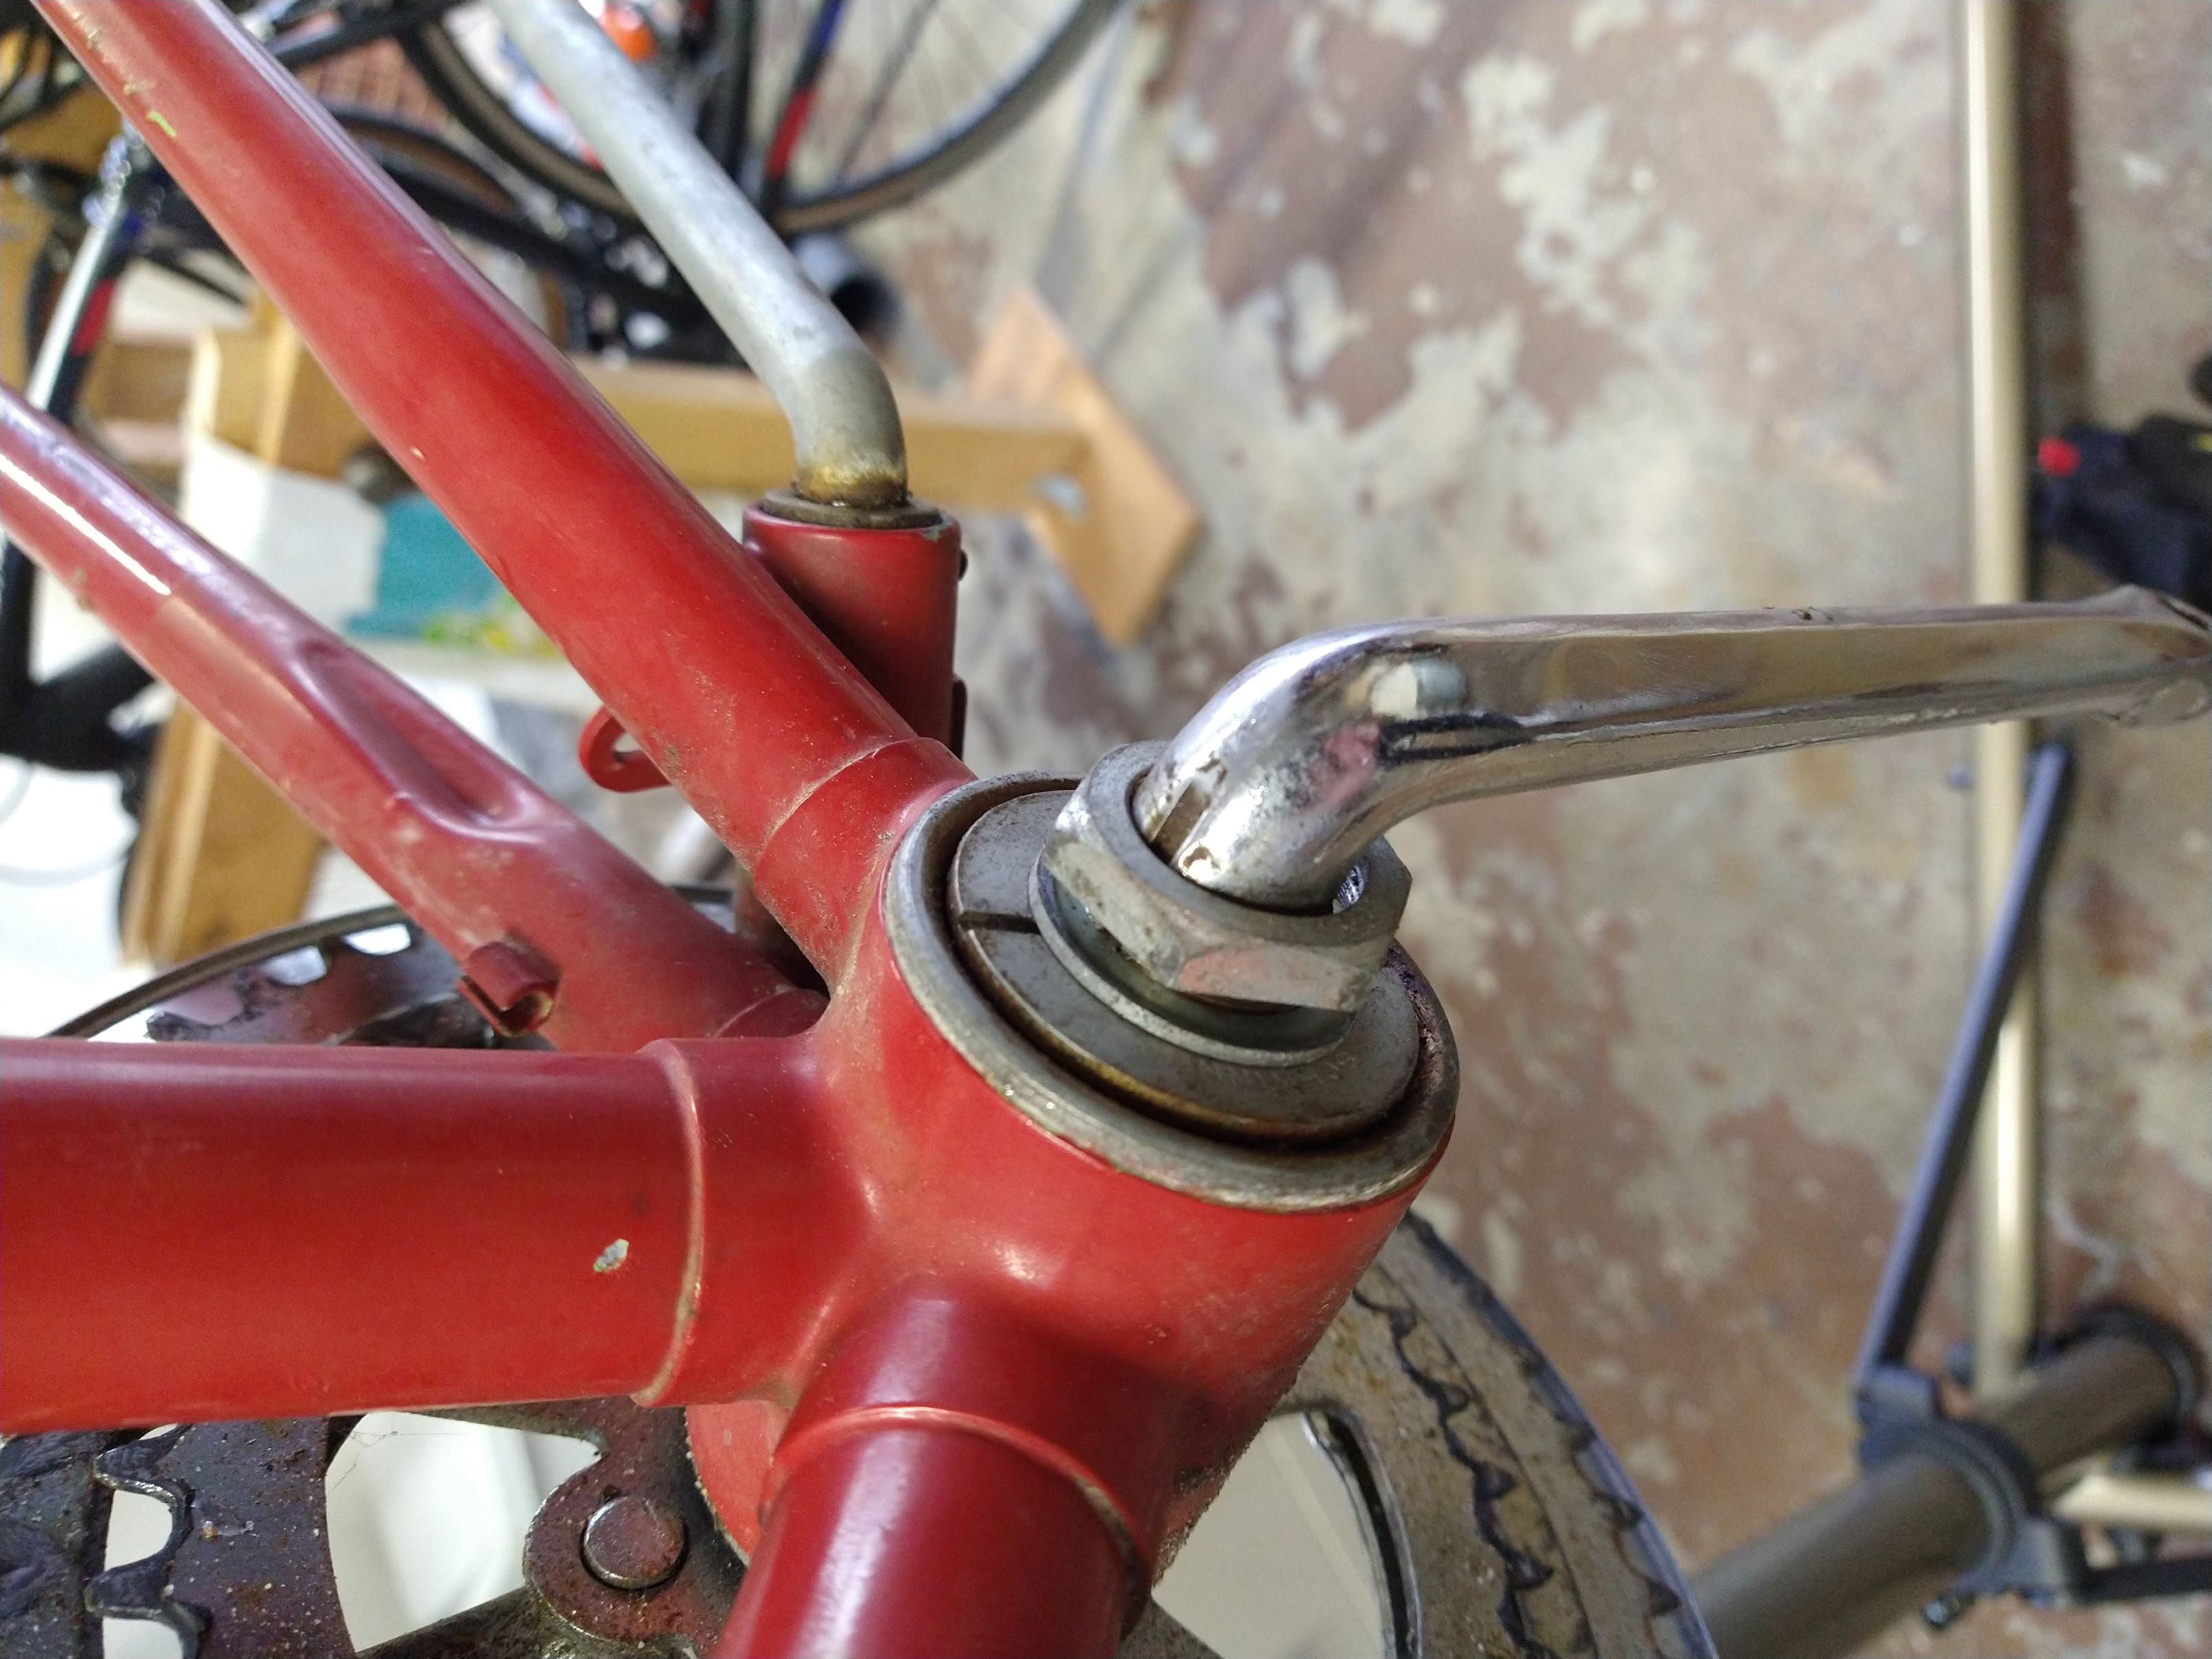 The Crank Before
 The Crank After
The rest of the pictures are just after overhaul. Everything but the old paint job really shines. It rides so smoothly now.
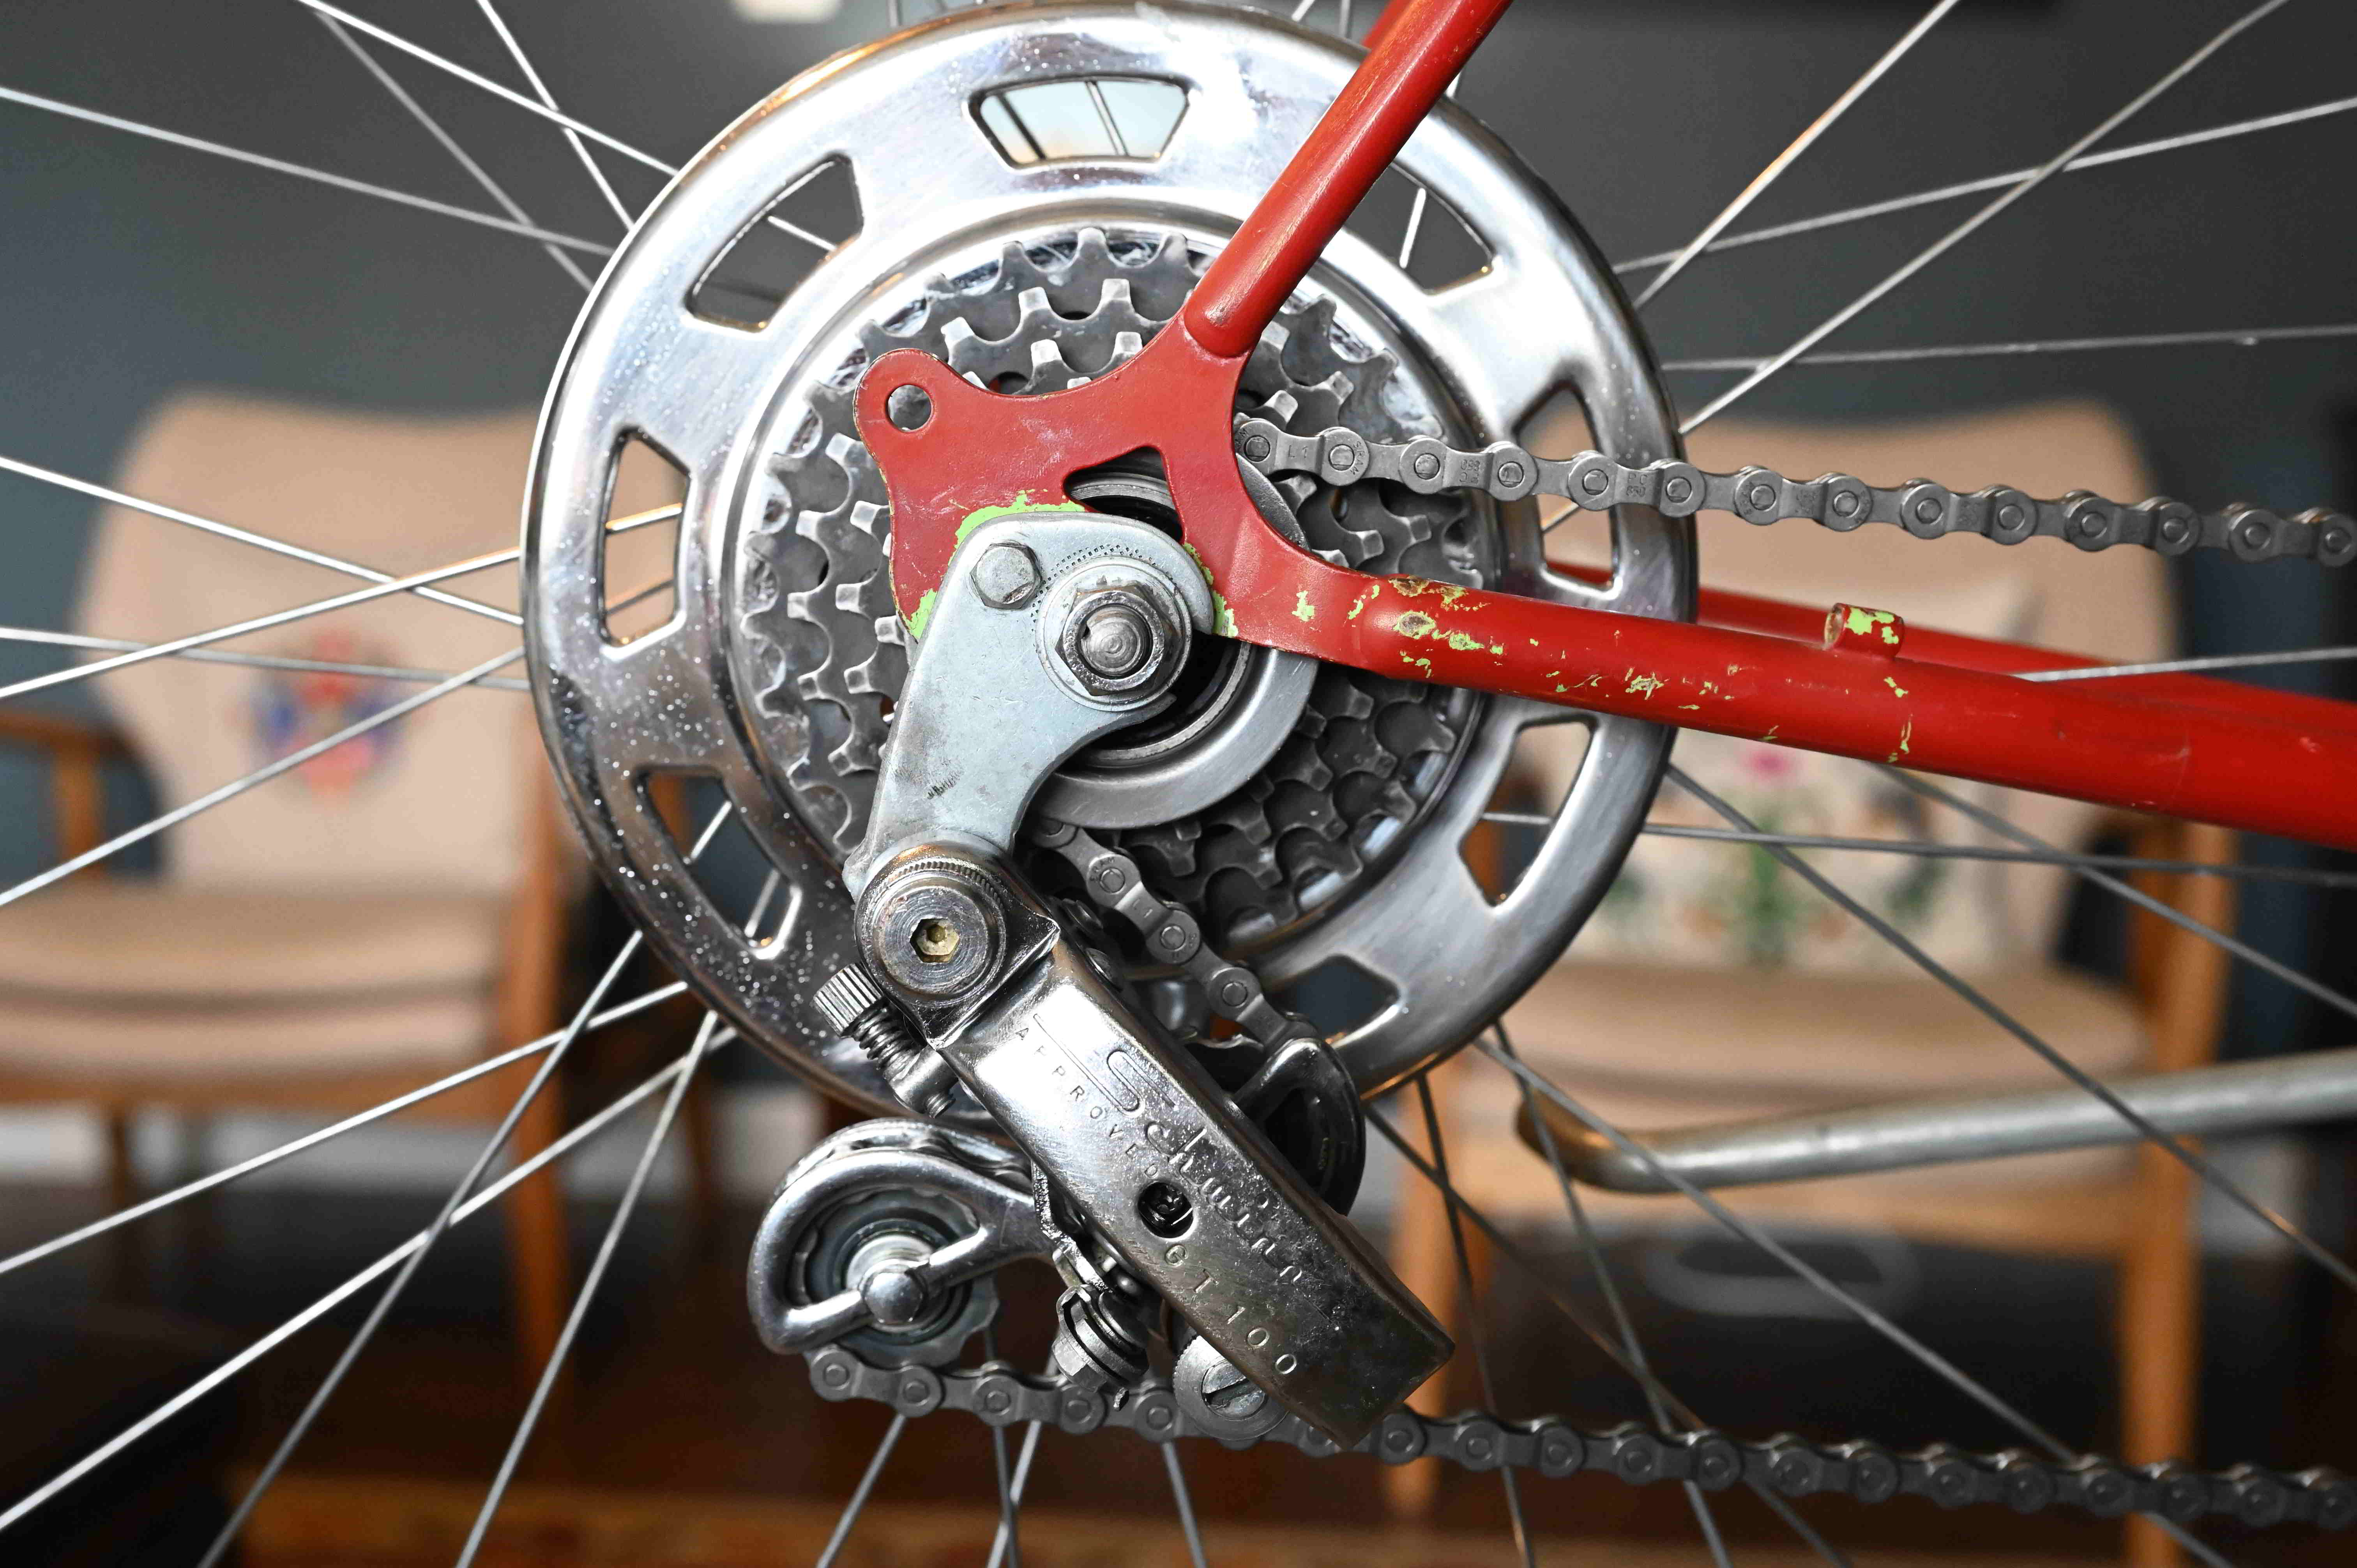
The Rear Cassette and Derailleur After
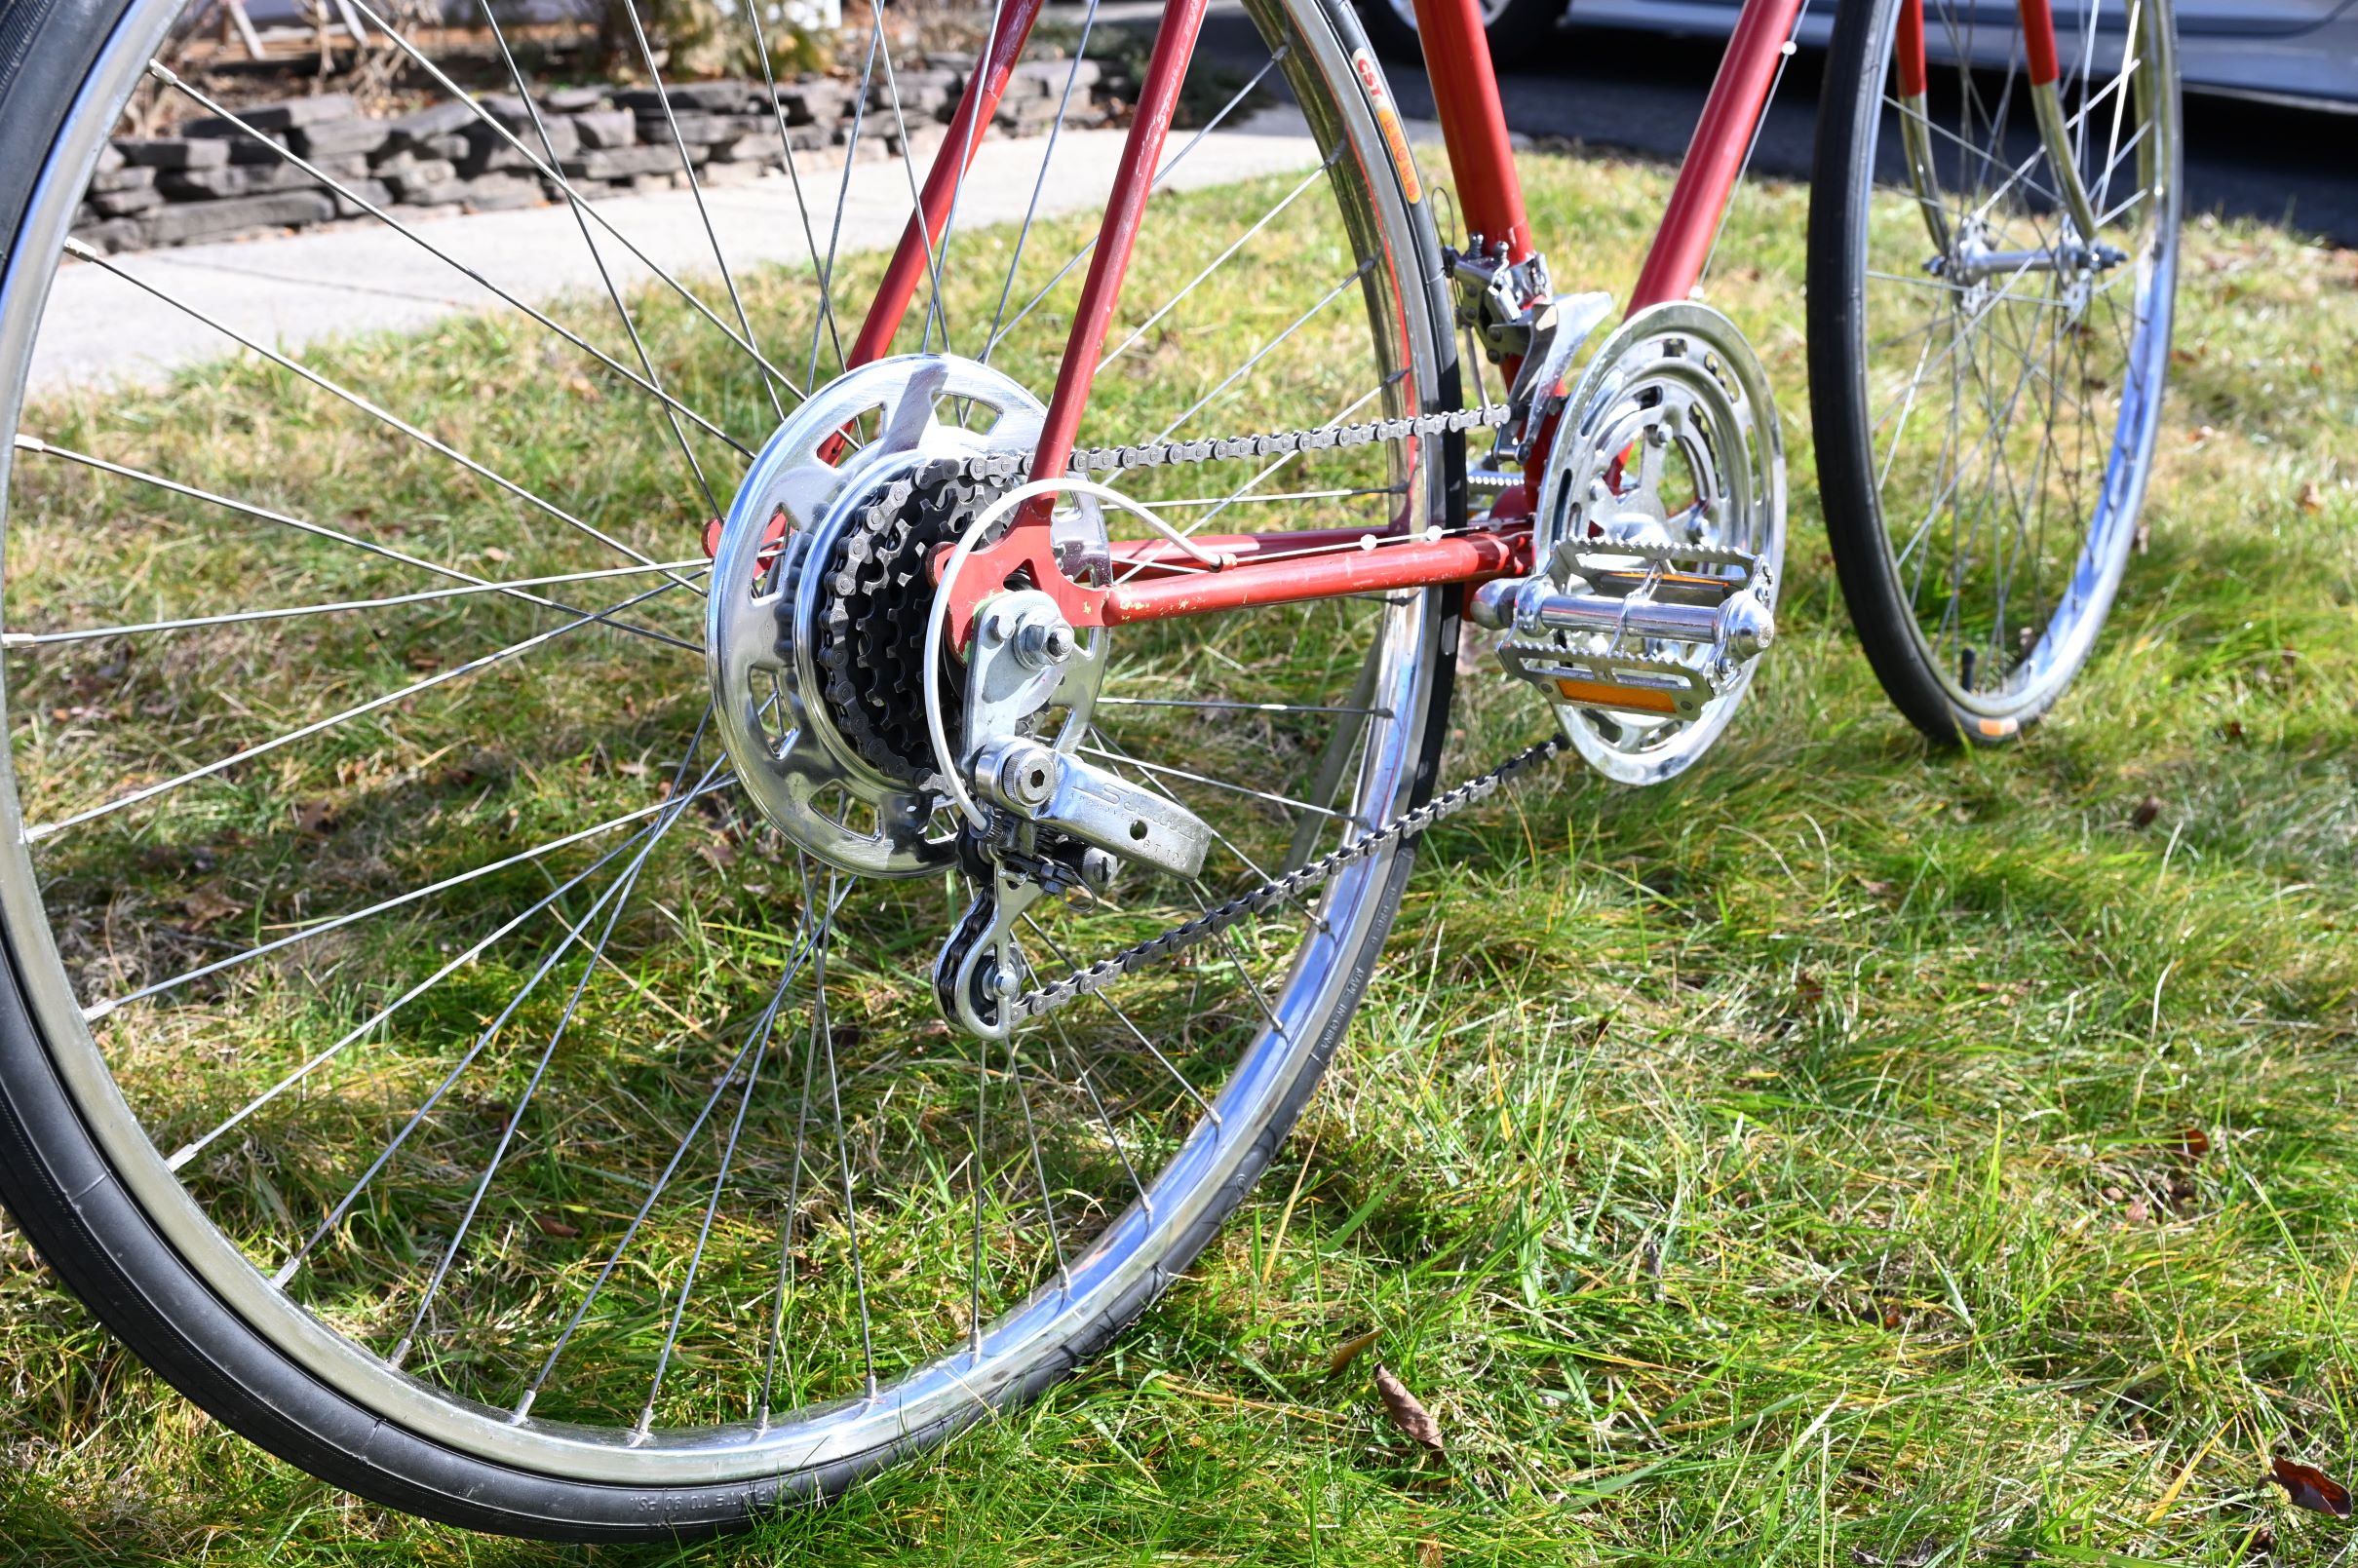
The Geartrain After
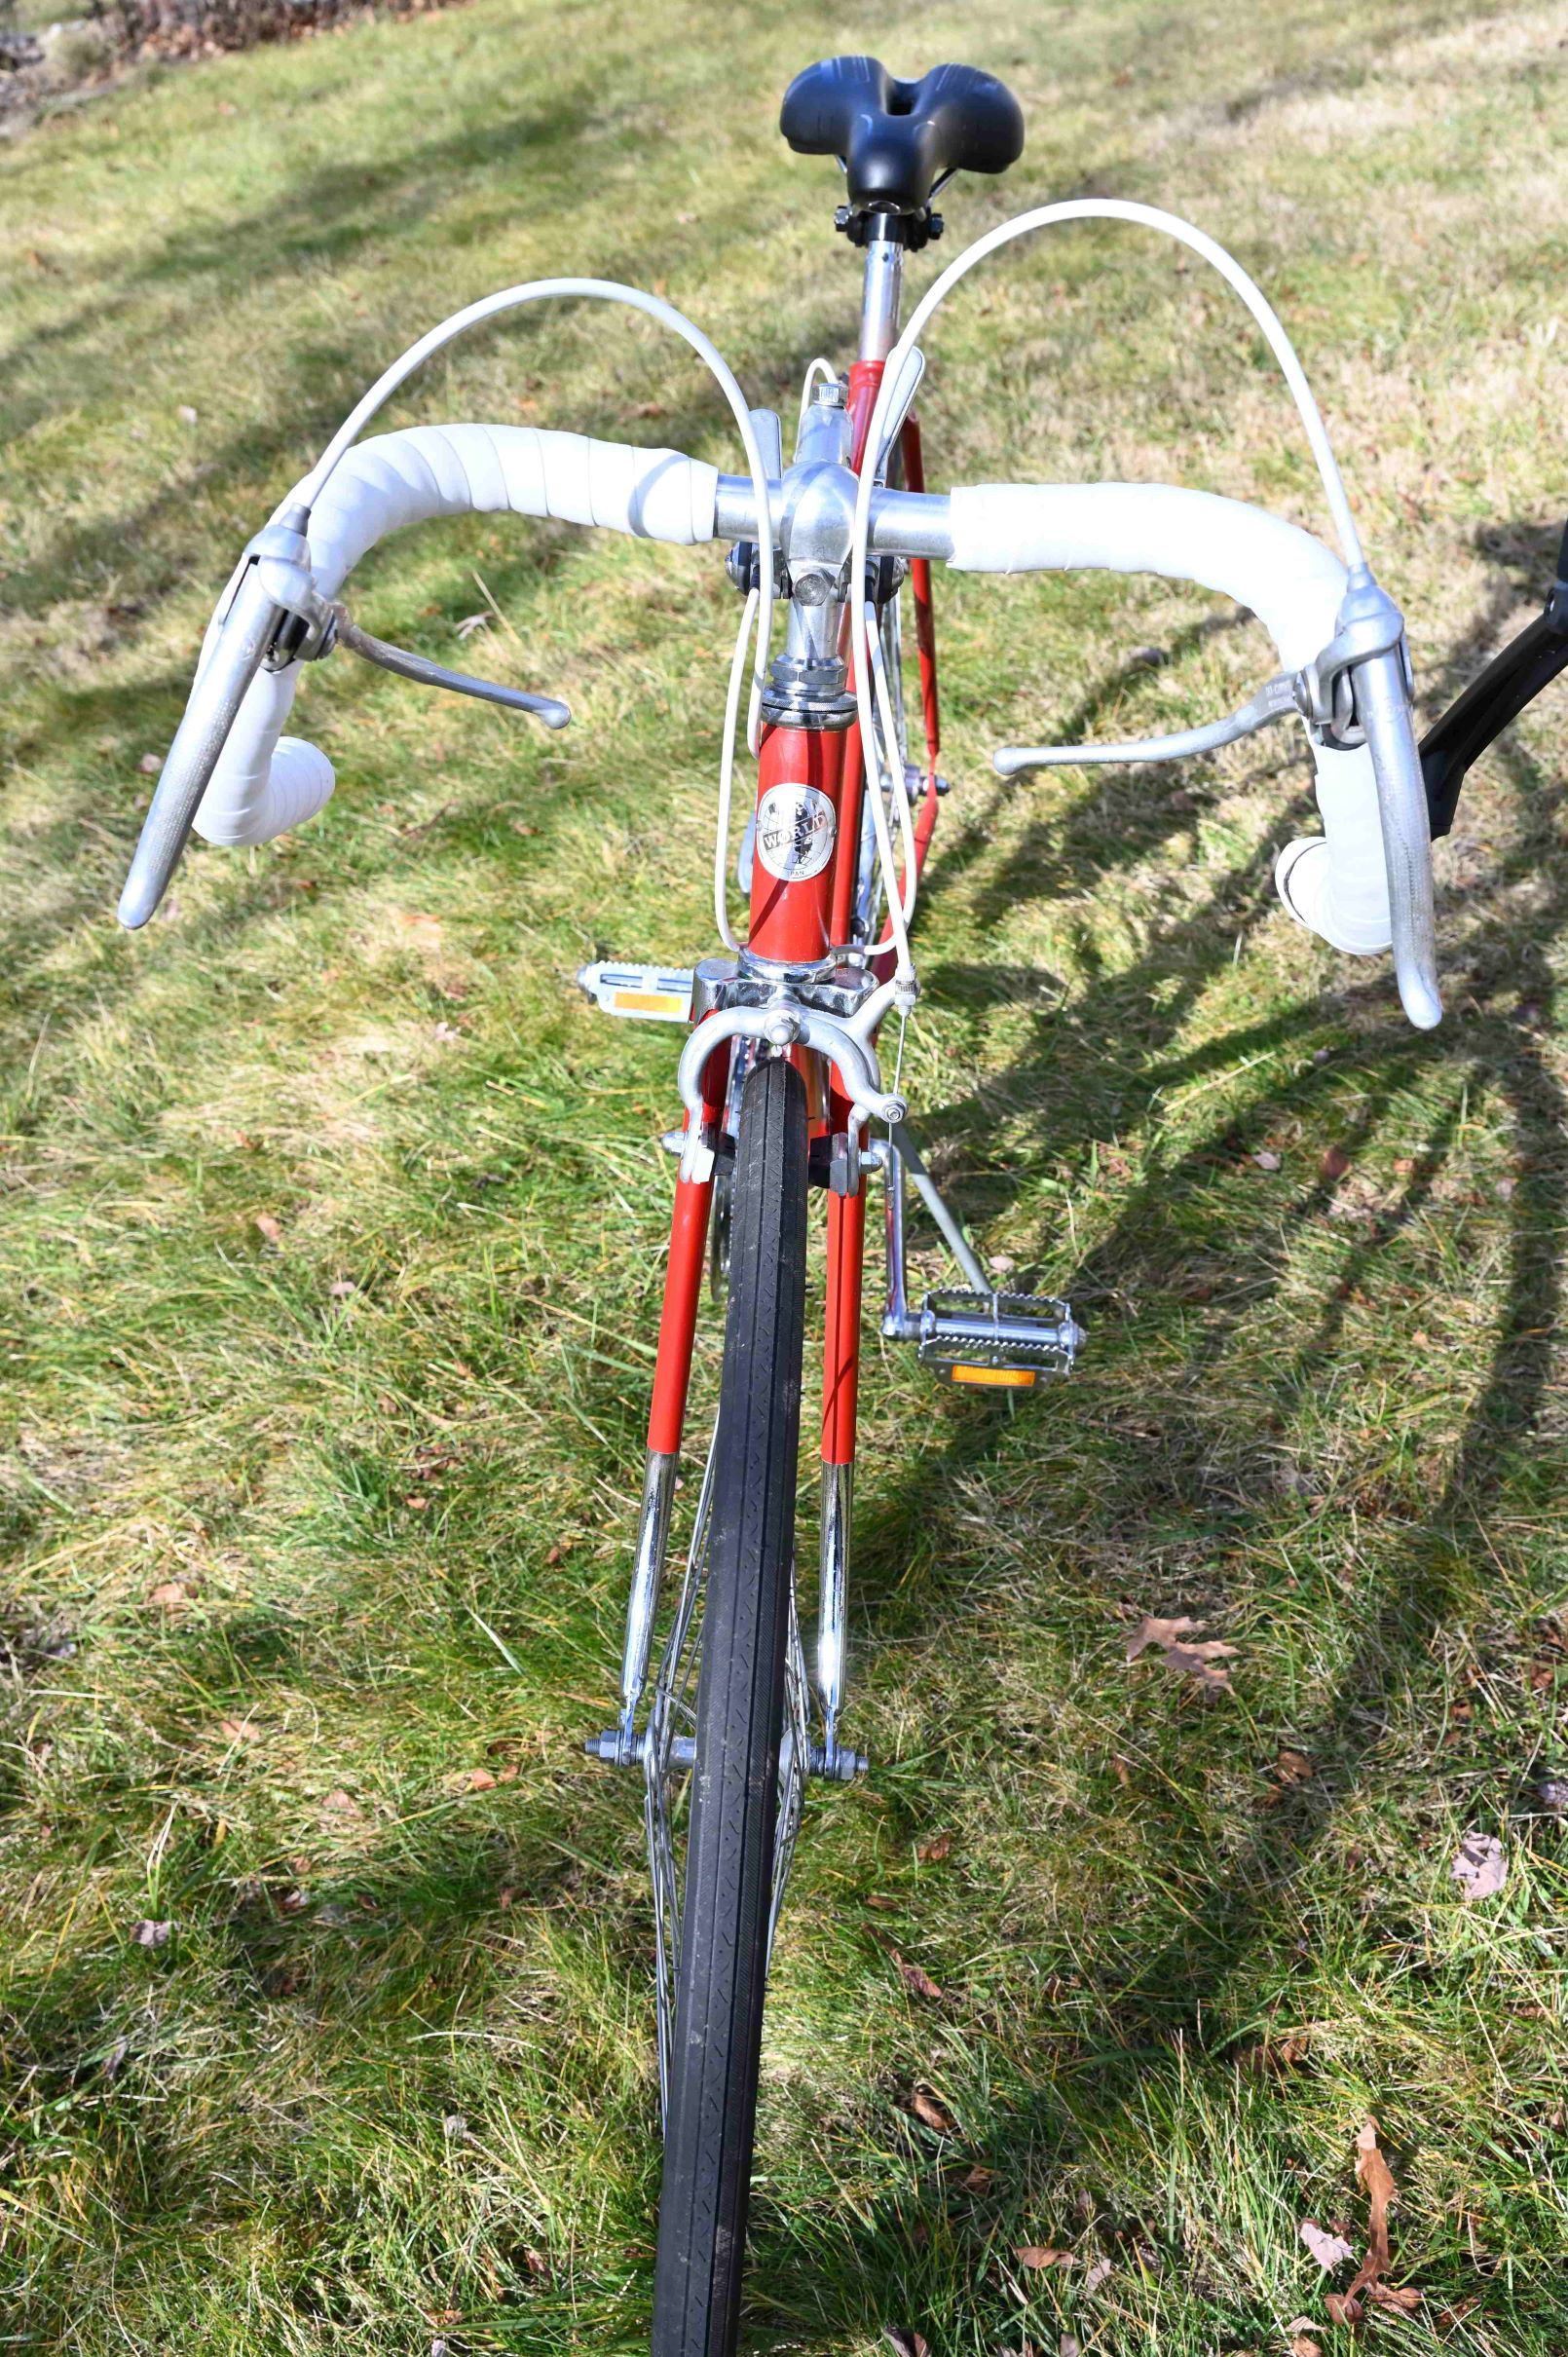 The front Emblem and Brakes After
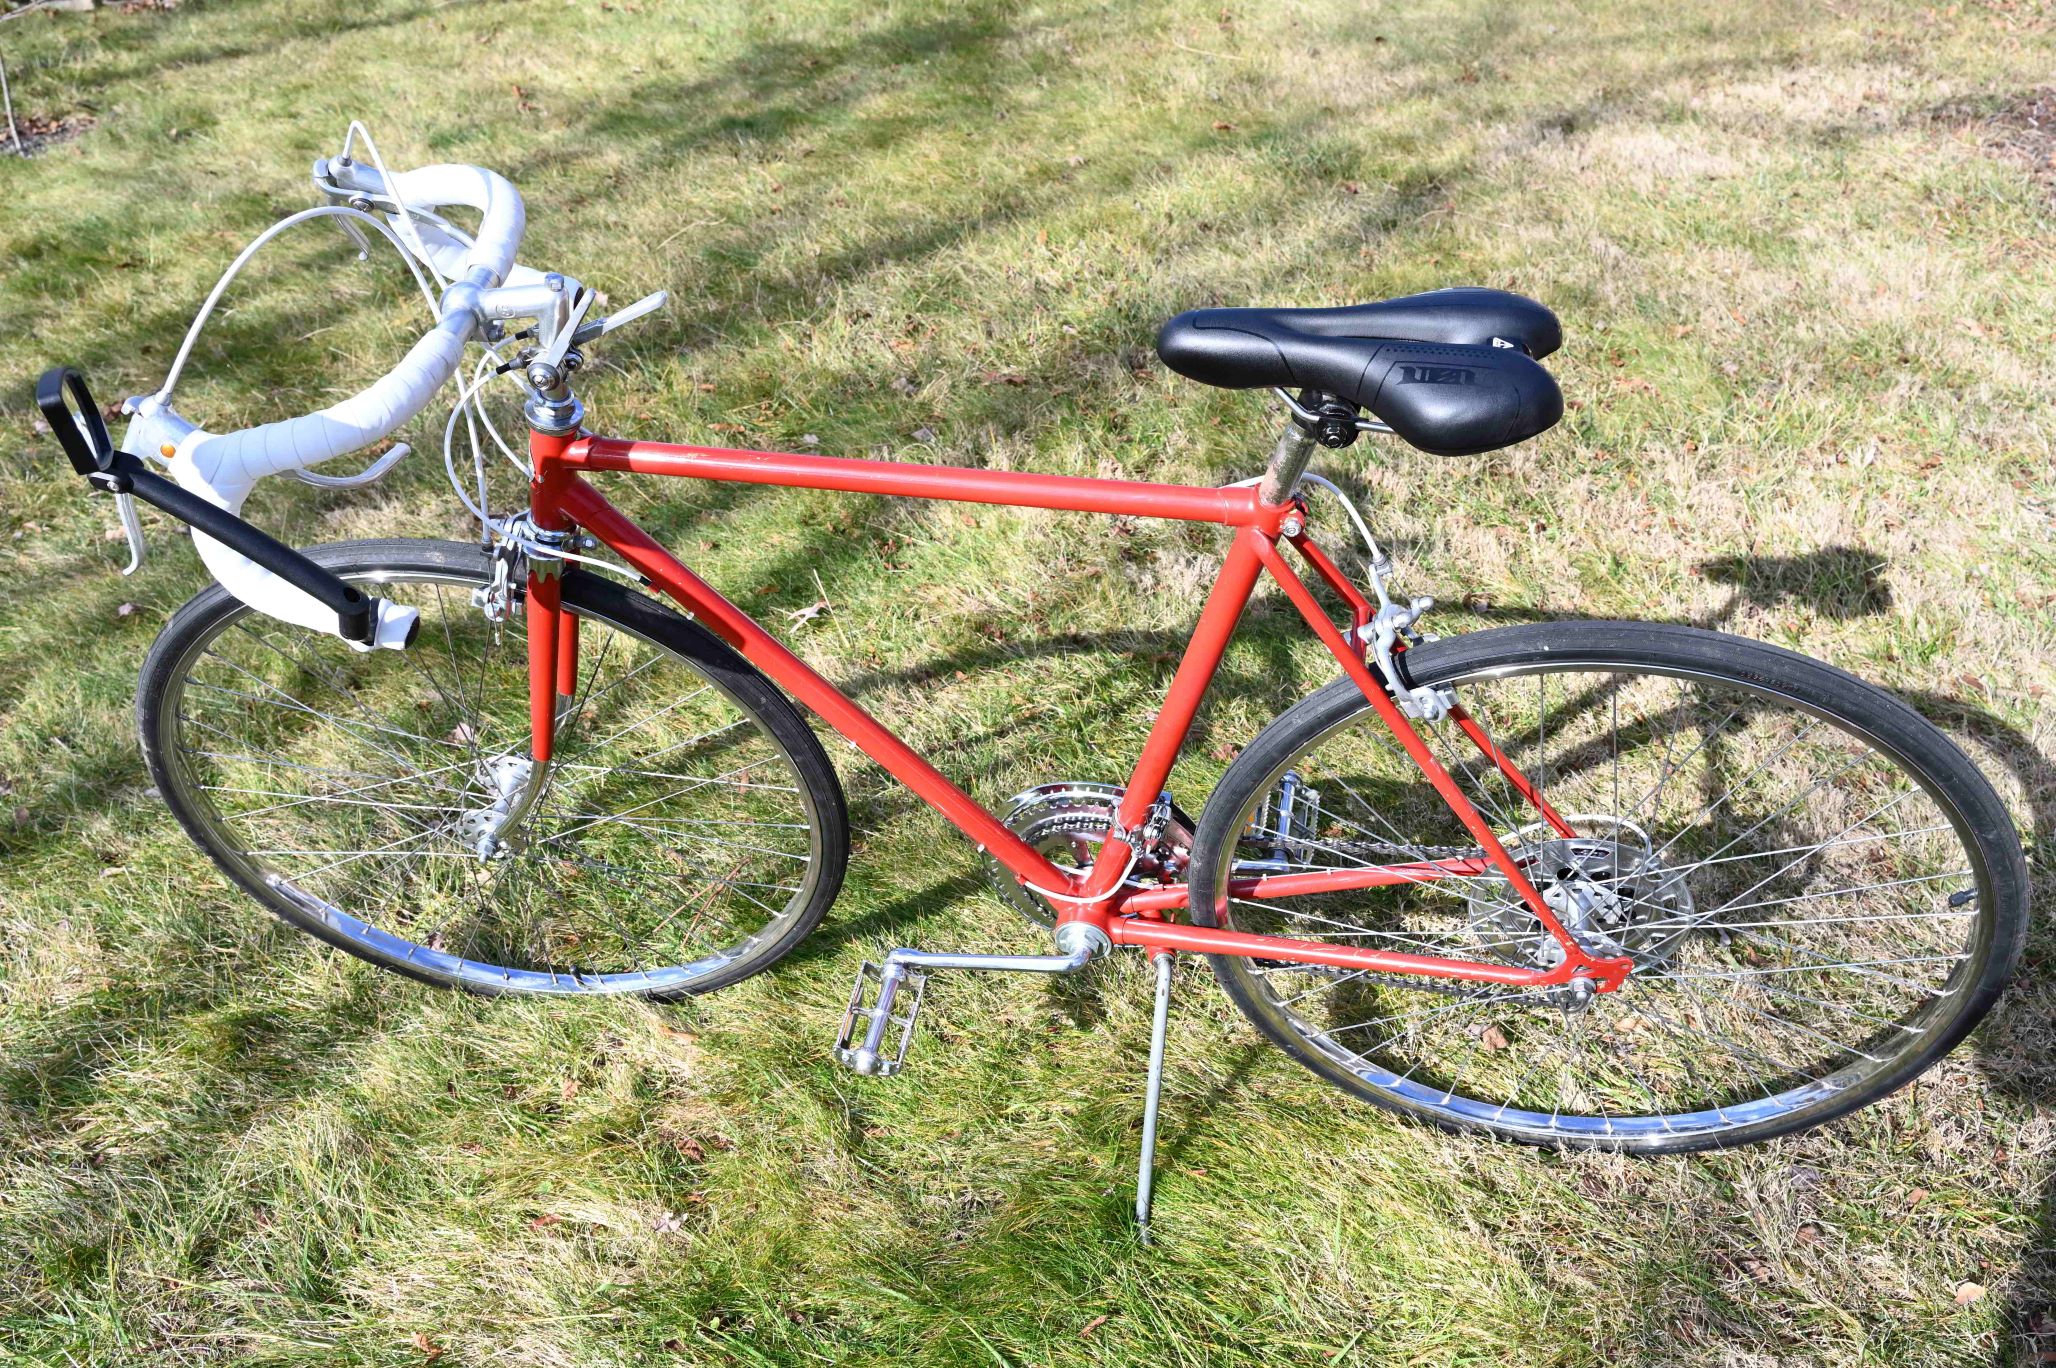
The Left Side After
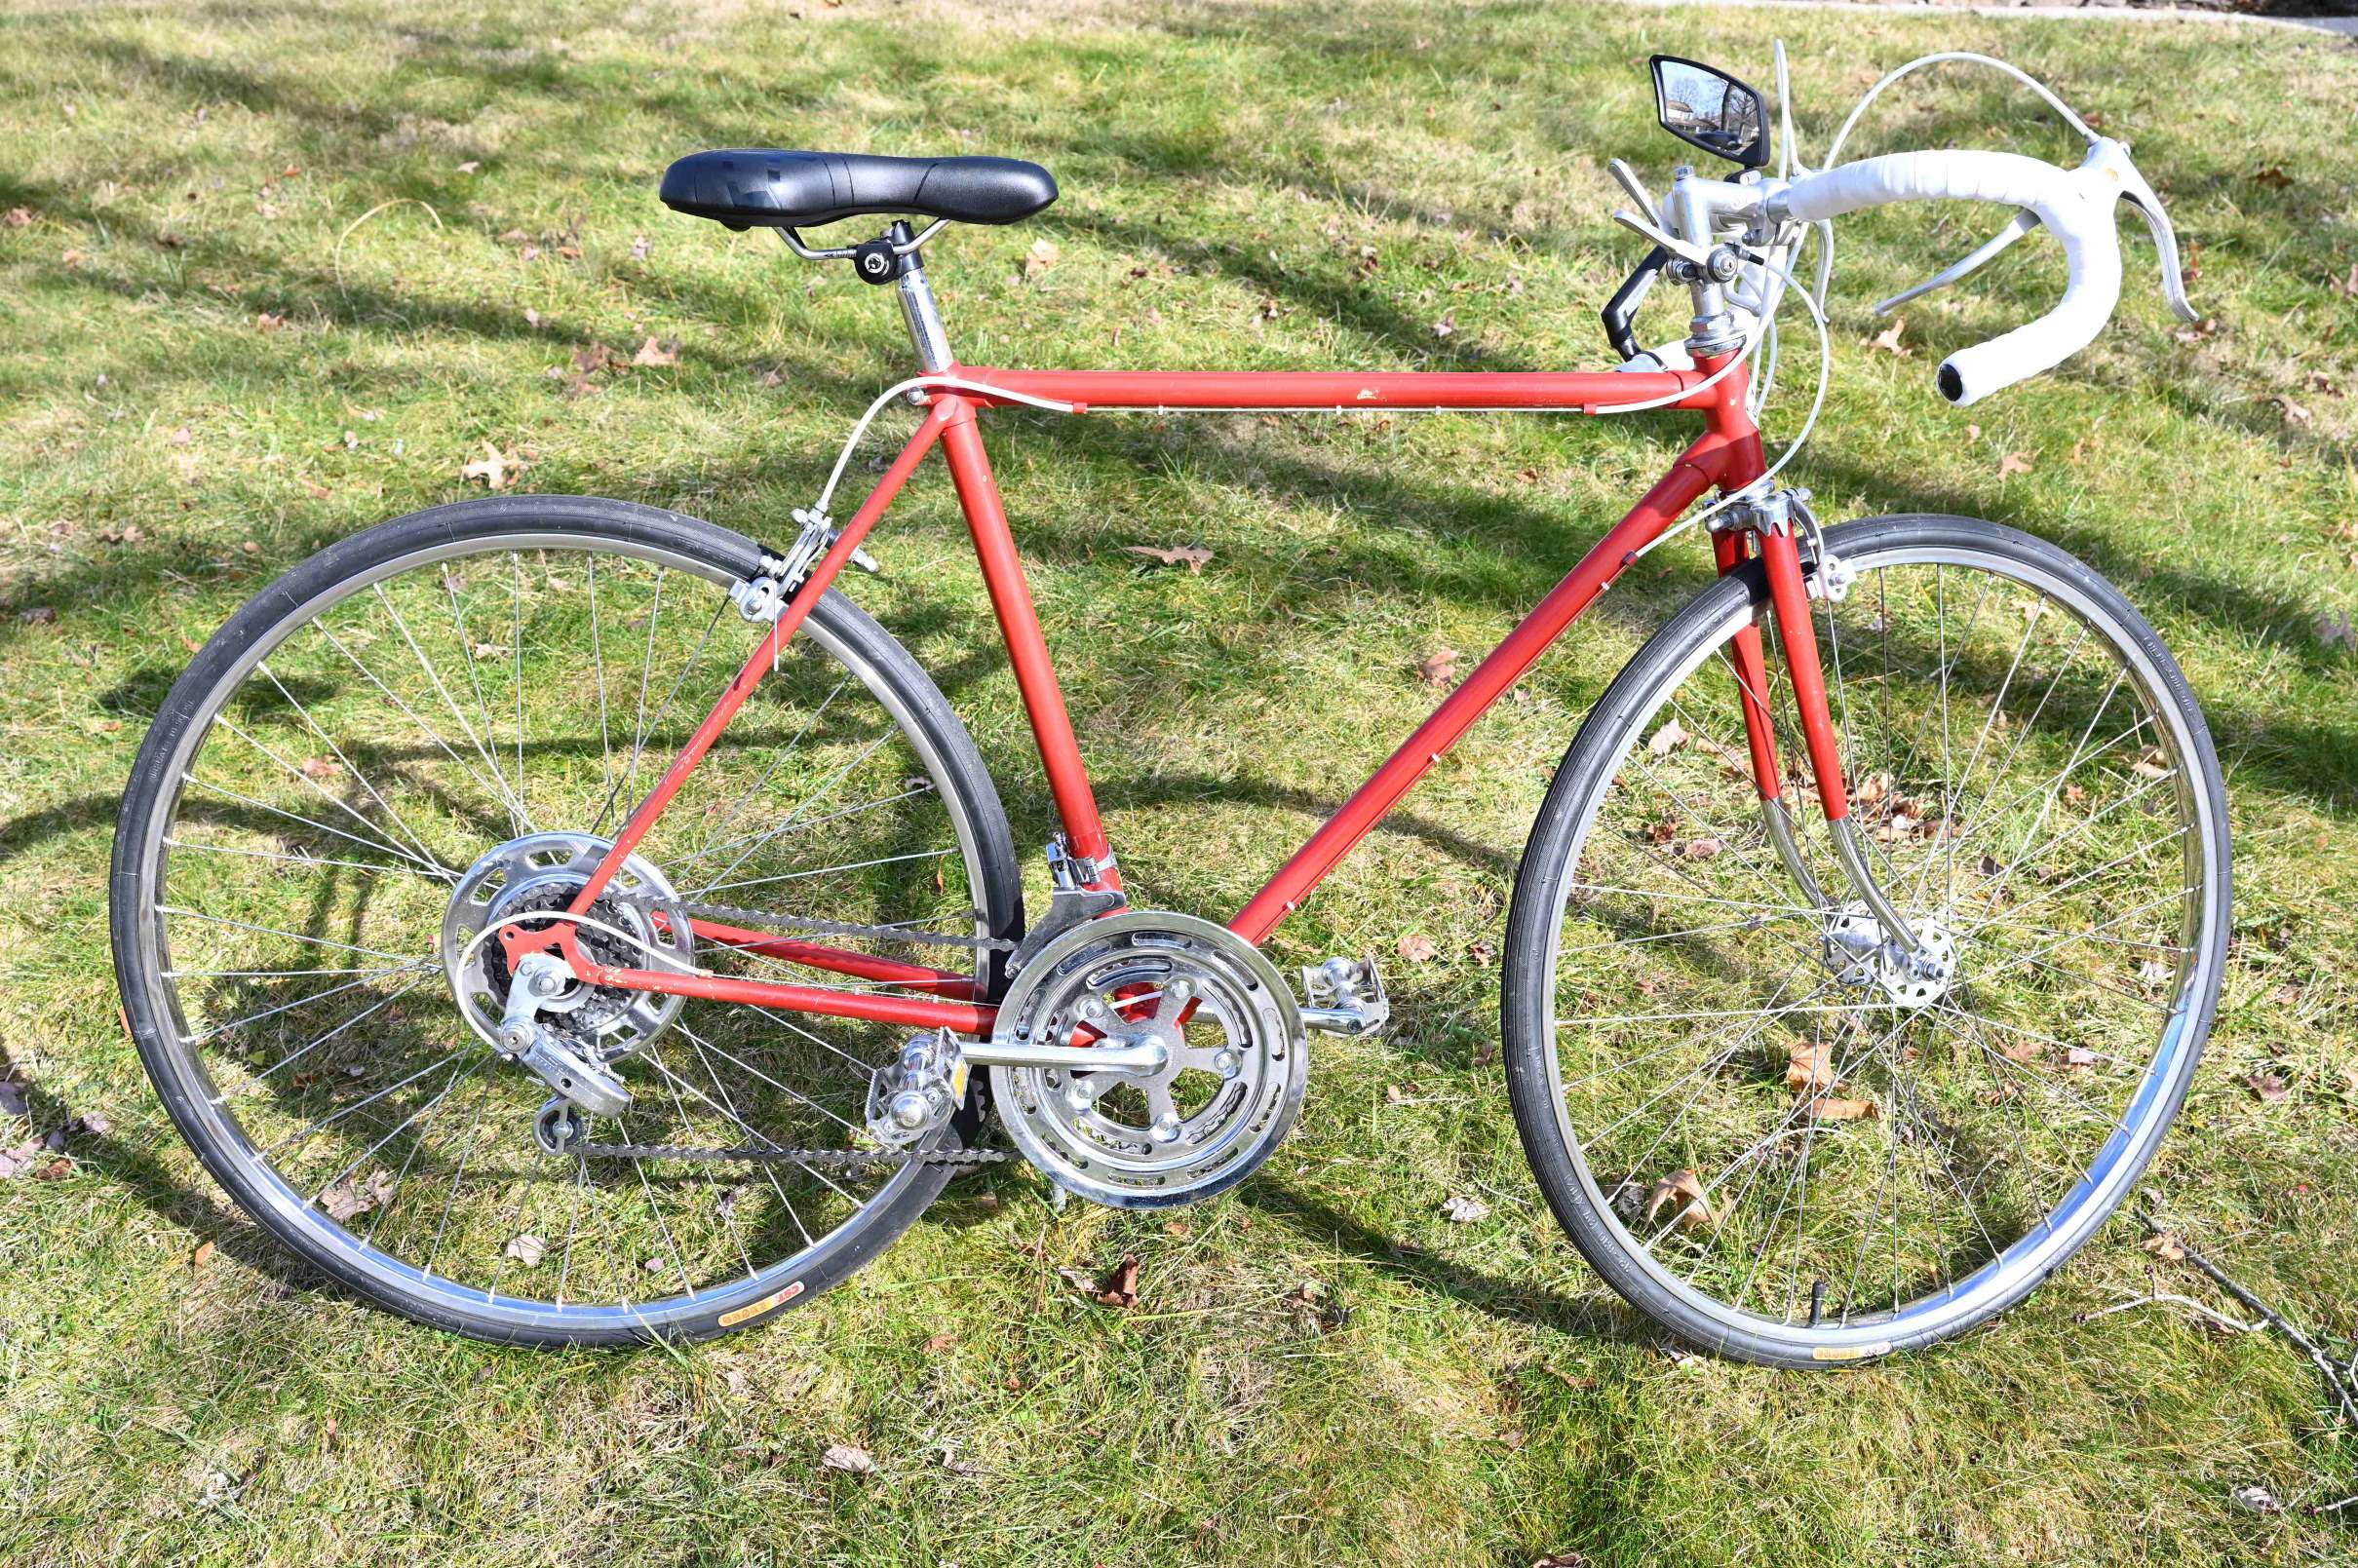
The Right Side After
Here is the breakdown of the material costs. If I included labor, it would be priceless. I am ready for my next project.
| Bike Part | Price |
|---|---|
| 1 Bike | $50 |
| 2 Tires & Tubes | $51 |
| 1 Seat | $16 |
| Grip Tape | $11 |
| Extra 2 Tubes (punctured 1) | $15 |
| Chain | $26 |
| Brake Pads | $10 |
| 2 Transmission Wire | $10 |
| White Outer Housing Cable | $11 |
| Total | $200 |